

OBS Setup
Installation
You can download OBS from the official site or by installing it through the brew package manager that many of us most likely already have installed: brew install obs.
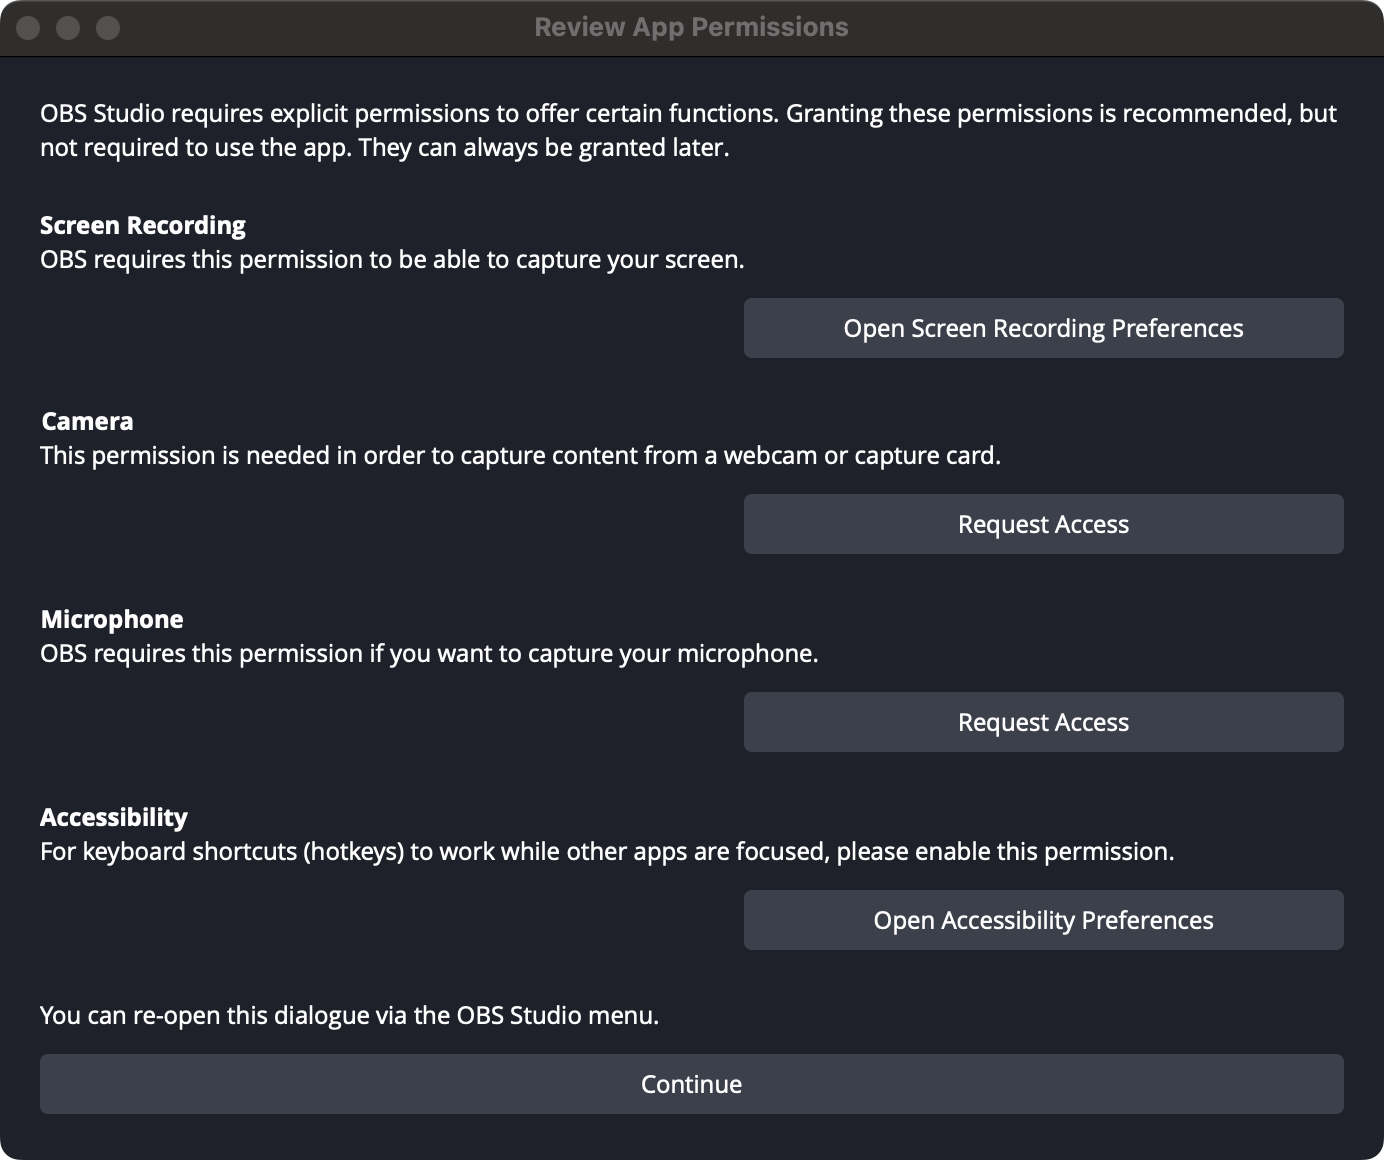
Once you open the app, ff you are on a Mac you’ll see a dialog asking for screen recording, webcam, and microphone access on first startup. Make sure to grant all the permissions.
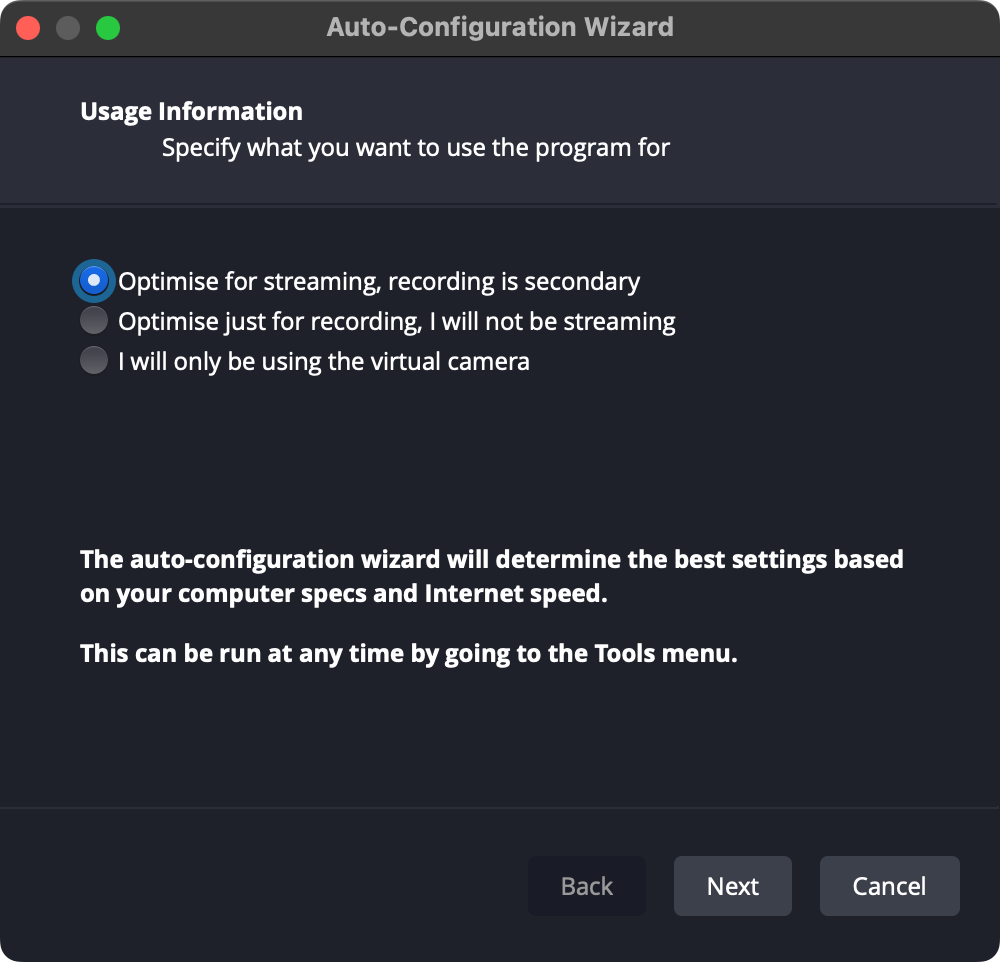
You’ll then see this dialog. Make sure to select ‘Optimise just for recording, I will not be streaming’ to get better quality results on your recordings.
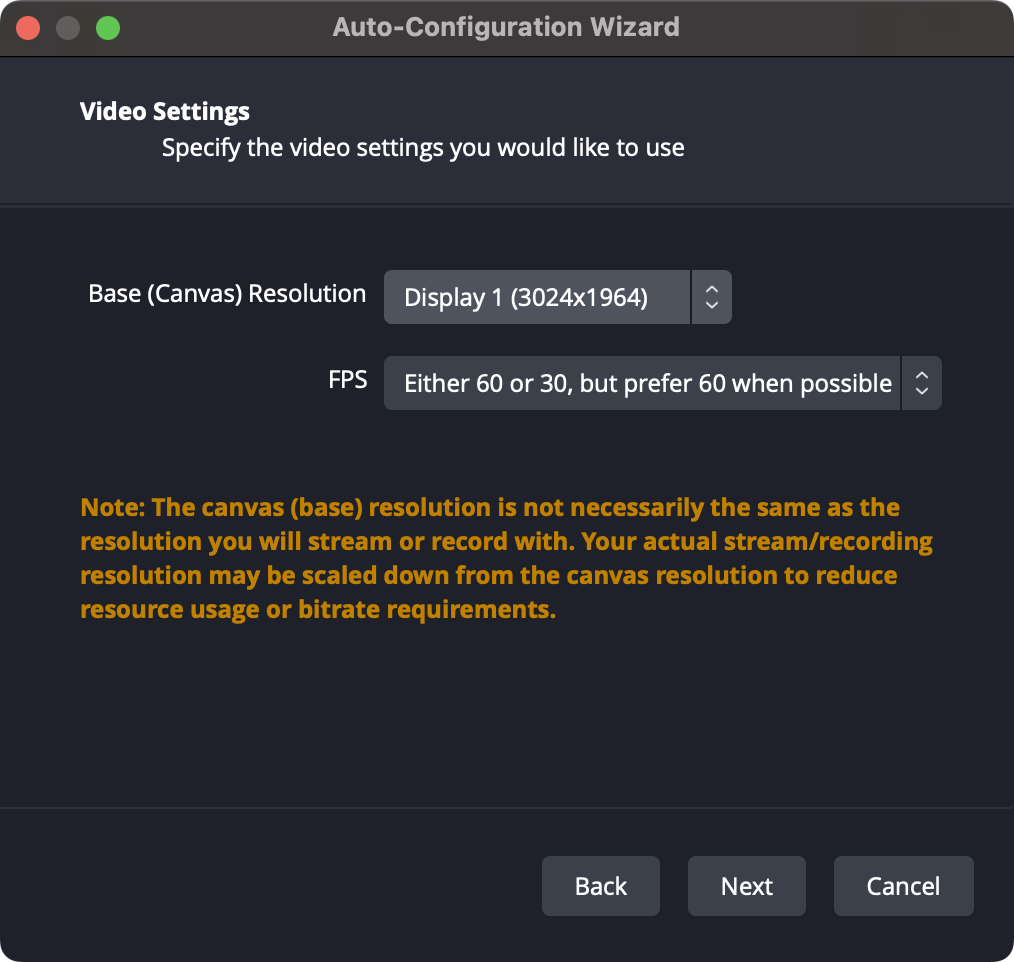
I recommend you choose a base resolution based on to the display you’ll be recording from (it should be listed in the dropdown). When scaling to lower or higher resolutions you’ll easily get artefacts in your recording. For the FPS value you can leave it at the preferred 60.
Screen Capture on MacOS
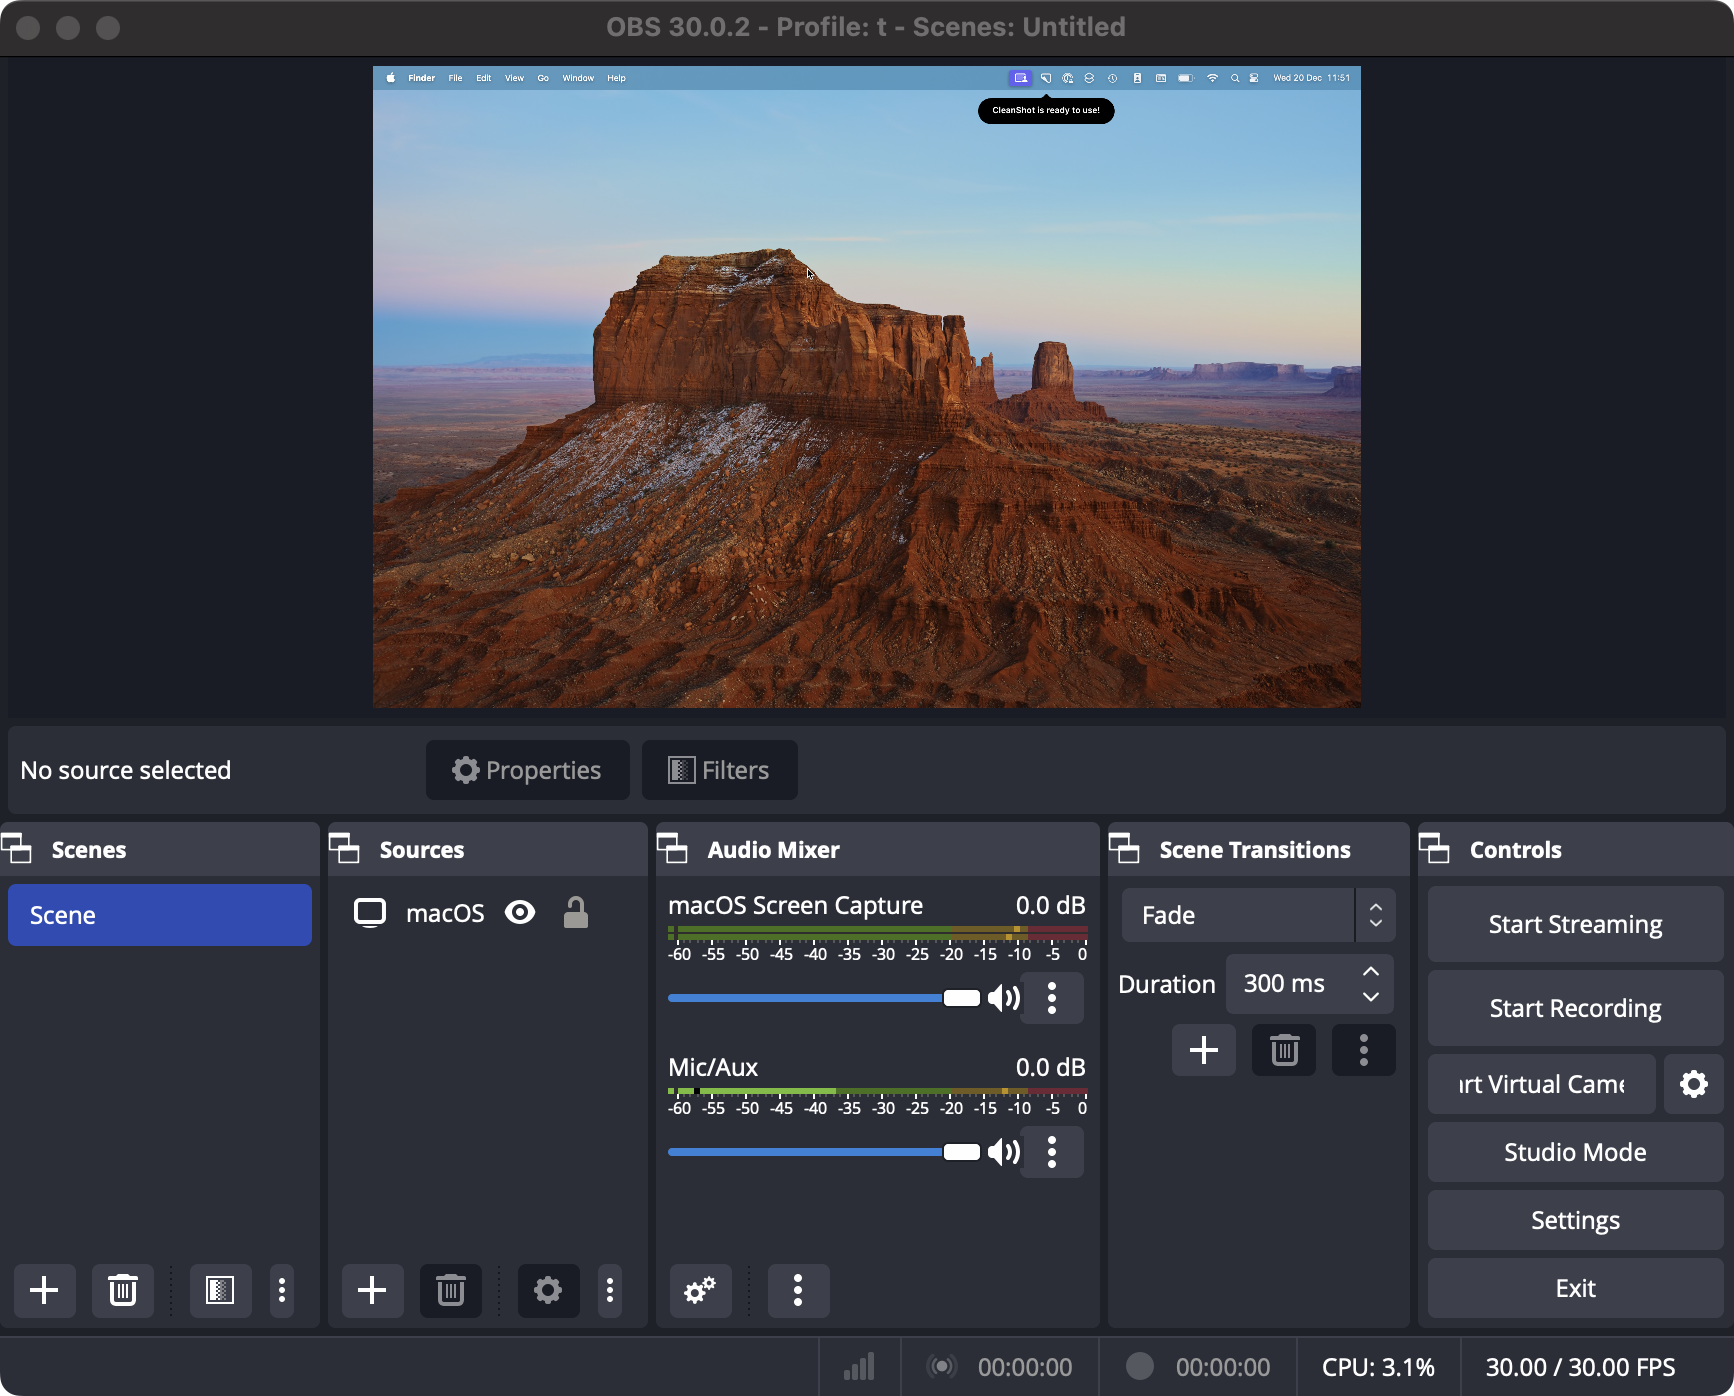
Once you are on the main screen, you’ll see the default scene. Because OBS is a very versatile tool and it can record from many different sources (both video and audio) you’ll need to manually configure the sources that you want to record. Lets start with the screen capture.
- In the sources window click the
+and selectmacOS Screen Capture.
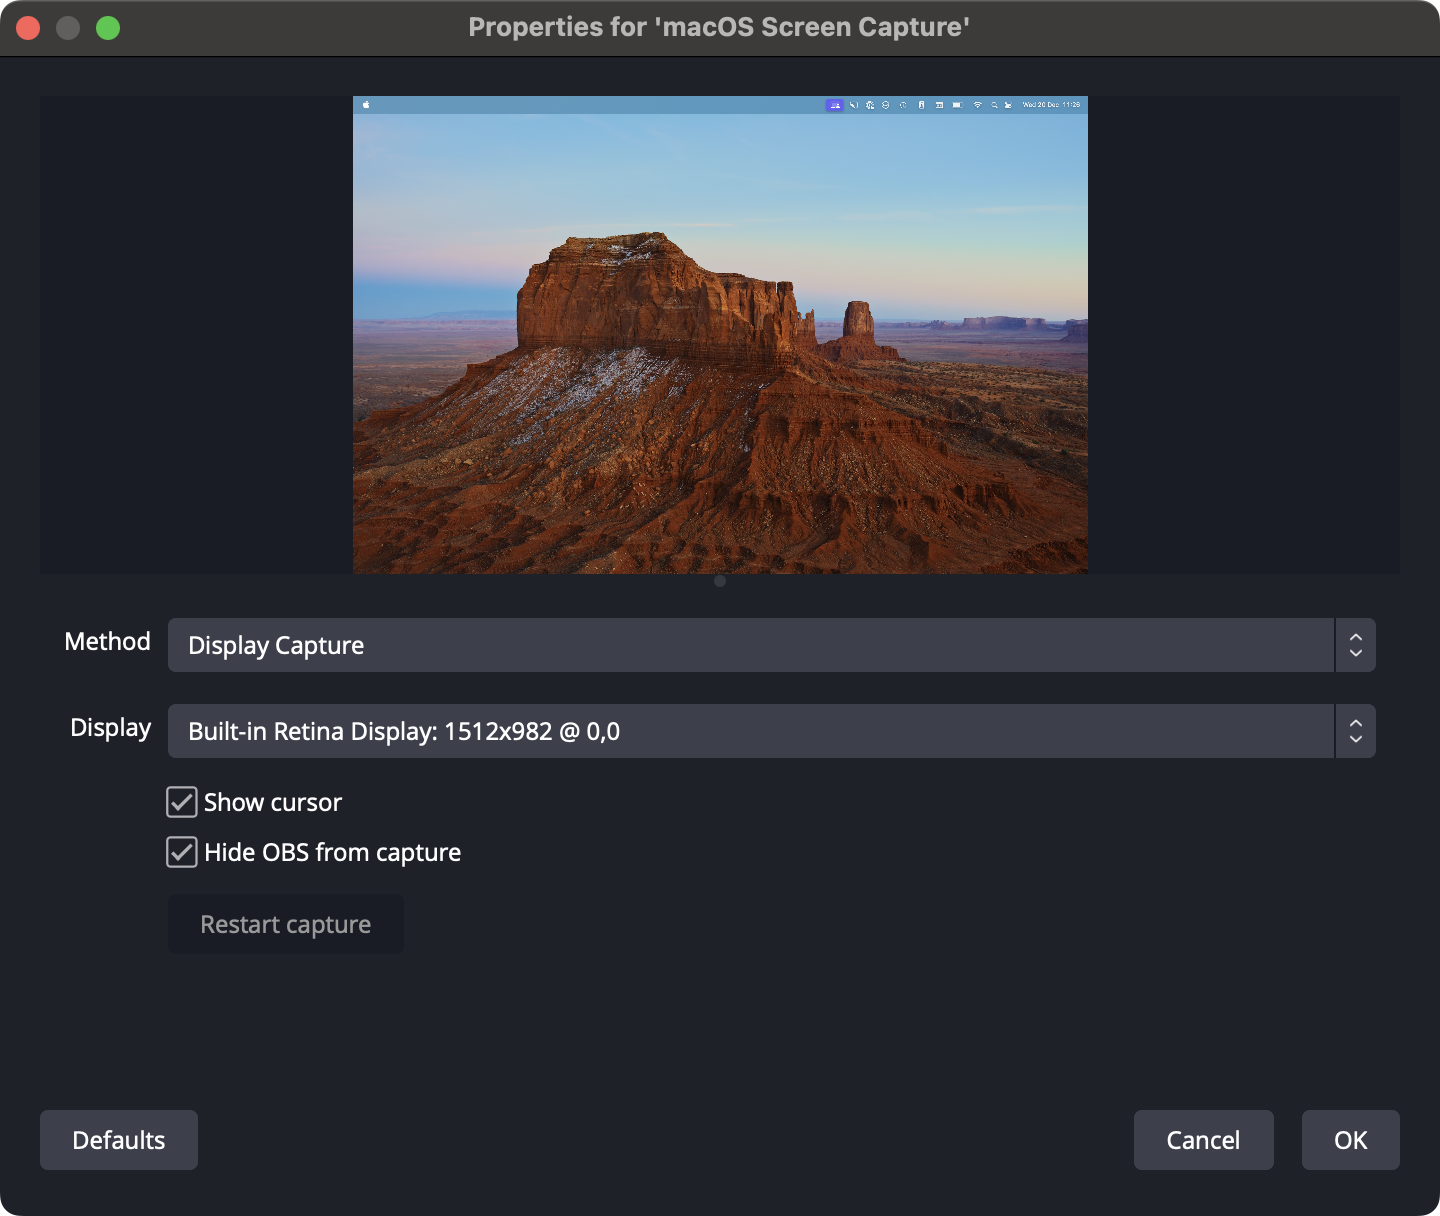
Make sure to tick the box ‘Hide OBS from capture’ such that the window OBS itself is not recorded.
Note that under Method you can also select Window and Application capture to only capture a specific window or application. For now we’ll record the whole screen but this could be interesting to play around with if you want to limit what is recorded.
Once you created the source, you’ll notice that the screen recording is displayed in the top part of the application. This is the preview window of your recording. If you selected your screen size in the auto-configuration window above you should see that the screen recording perfectly fits the preview.
If something is off, or if you moved the recording around in the preview you can reset it by right clicking on the source (either in the list below or in the preview) and click on Transform > Fit to screen.
Adding in your webcam
Next we need to add your webcam as a separate source (or as its named in OBS a video capture device)
- Add a new source and select
Video Capture Device
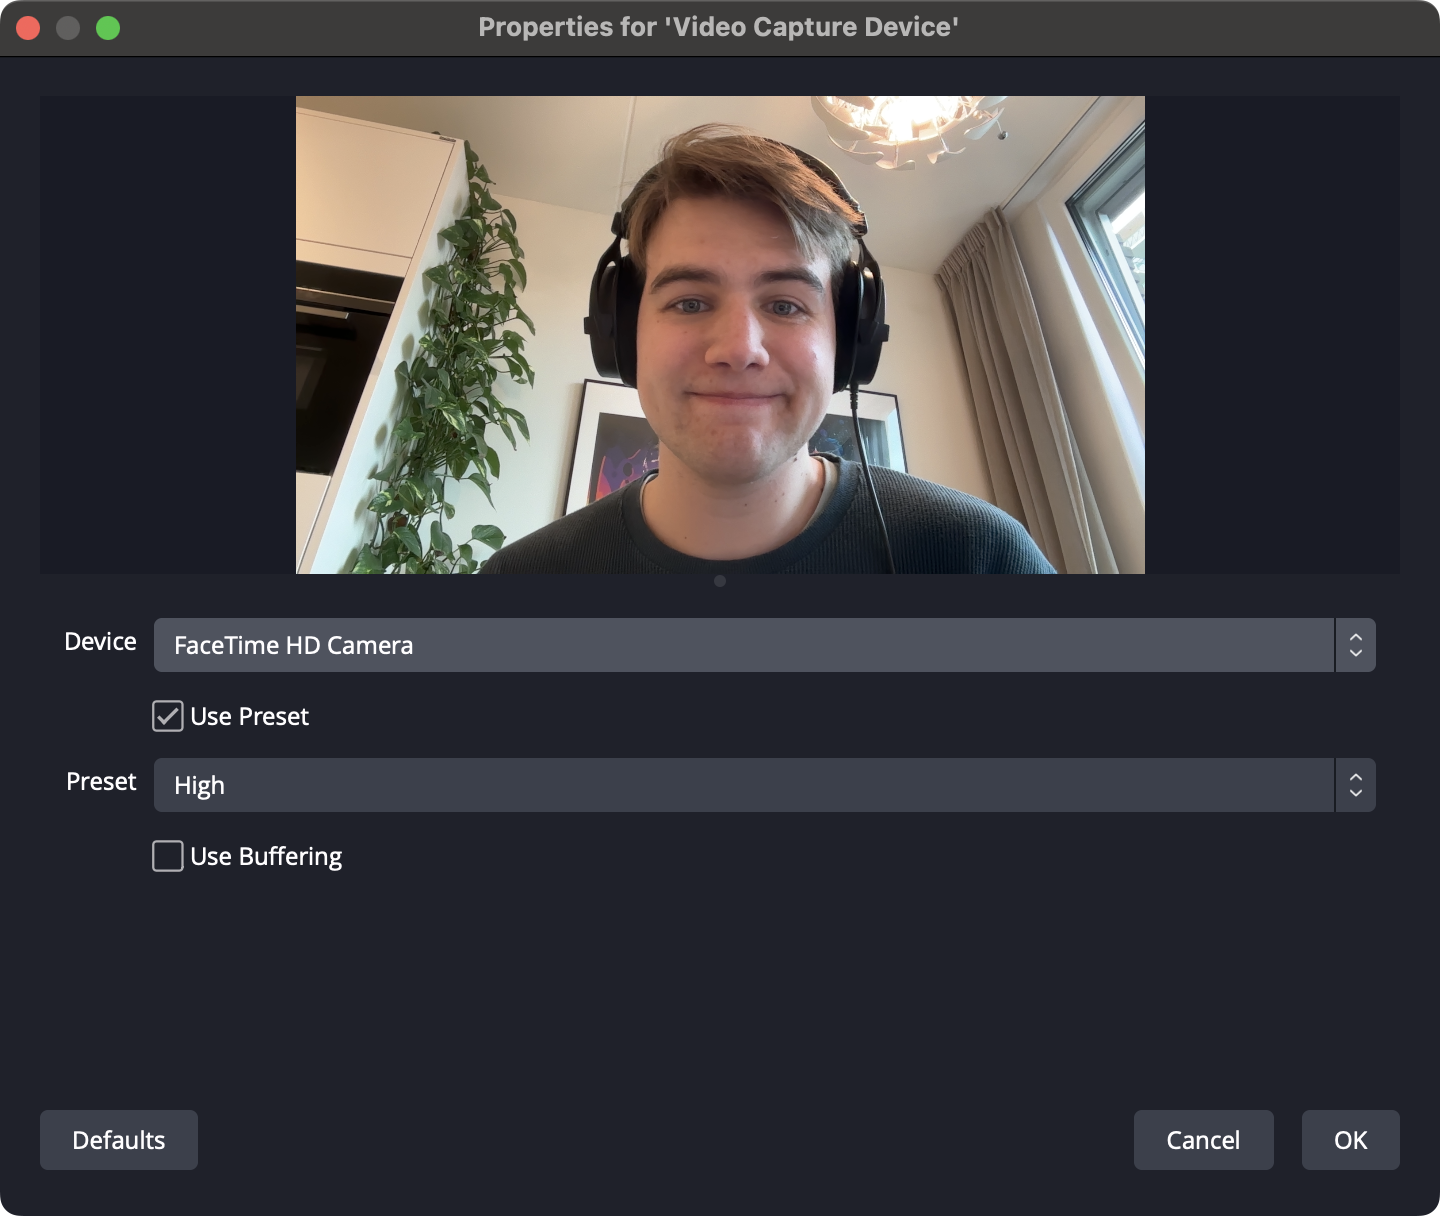
In the dialog make sure that you select your preferred webcam. You can leave the rest as is.
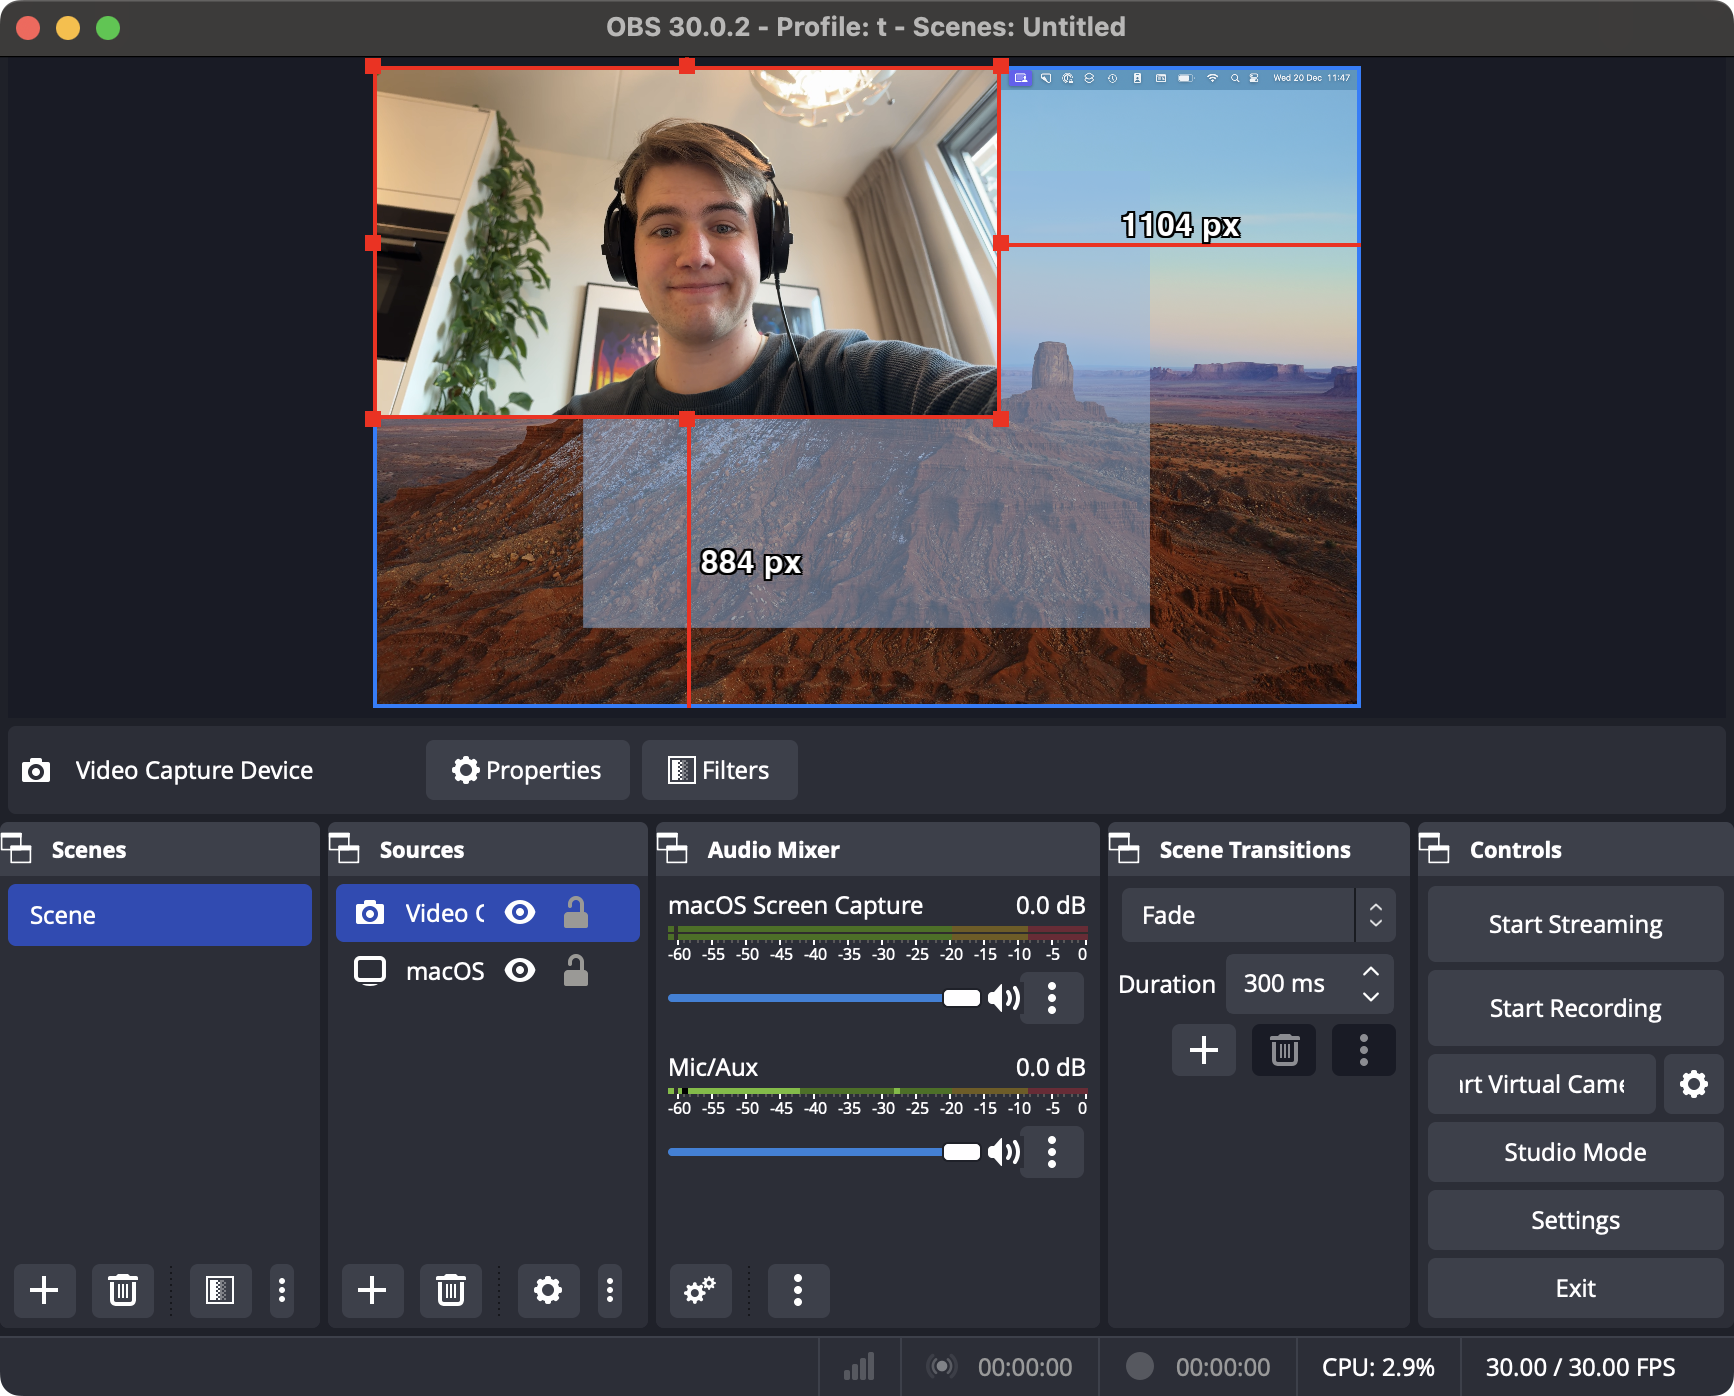
Once you add the source you’ll notice it is quite wide, and it takes up the top left of the screen. This is where the customisation in OBS starts to shine. You now have full control of the box that renders your webcam. You can place it anywhere on the screen and change the size of the box itself. You can for example place it in the bottom left border and call it a day.
However, with OBS we can do some pretty cool things, one of them is masking our sources, for example you might want to show your webcam as a circle. This can be achieved by masking out a circle (or really any shape you like) using filters.
- Right click on your webcam source and click on
filters. This will open a dialog where you can add masks.
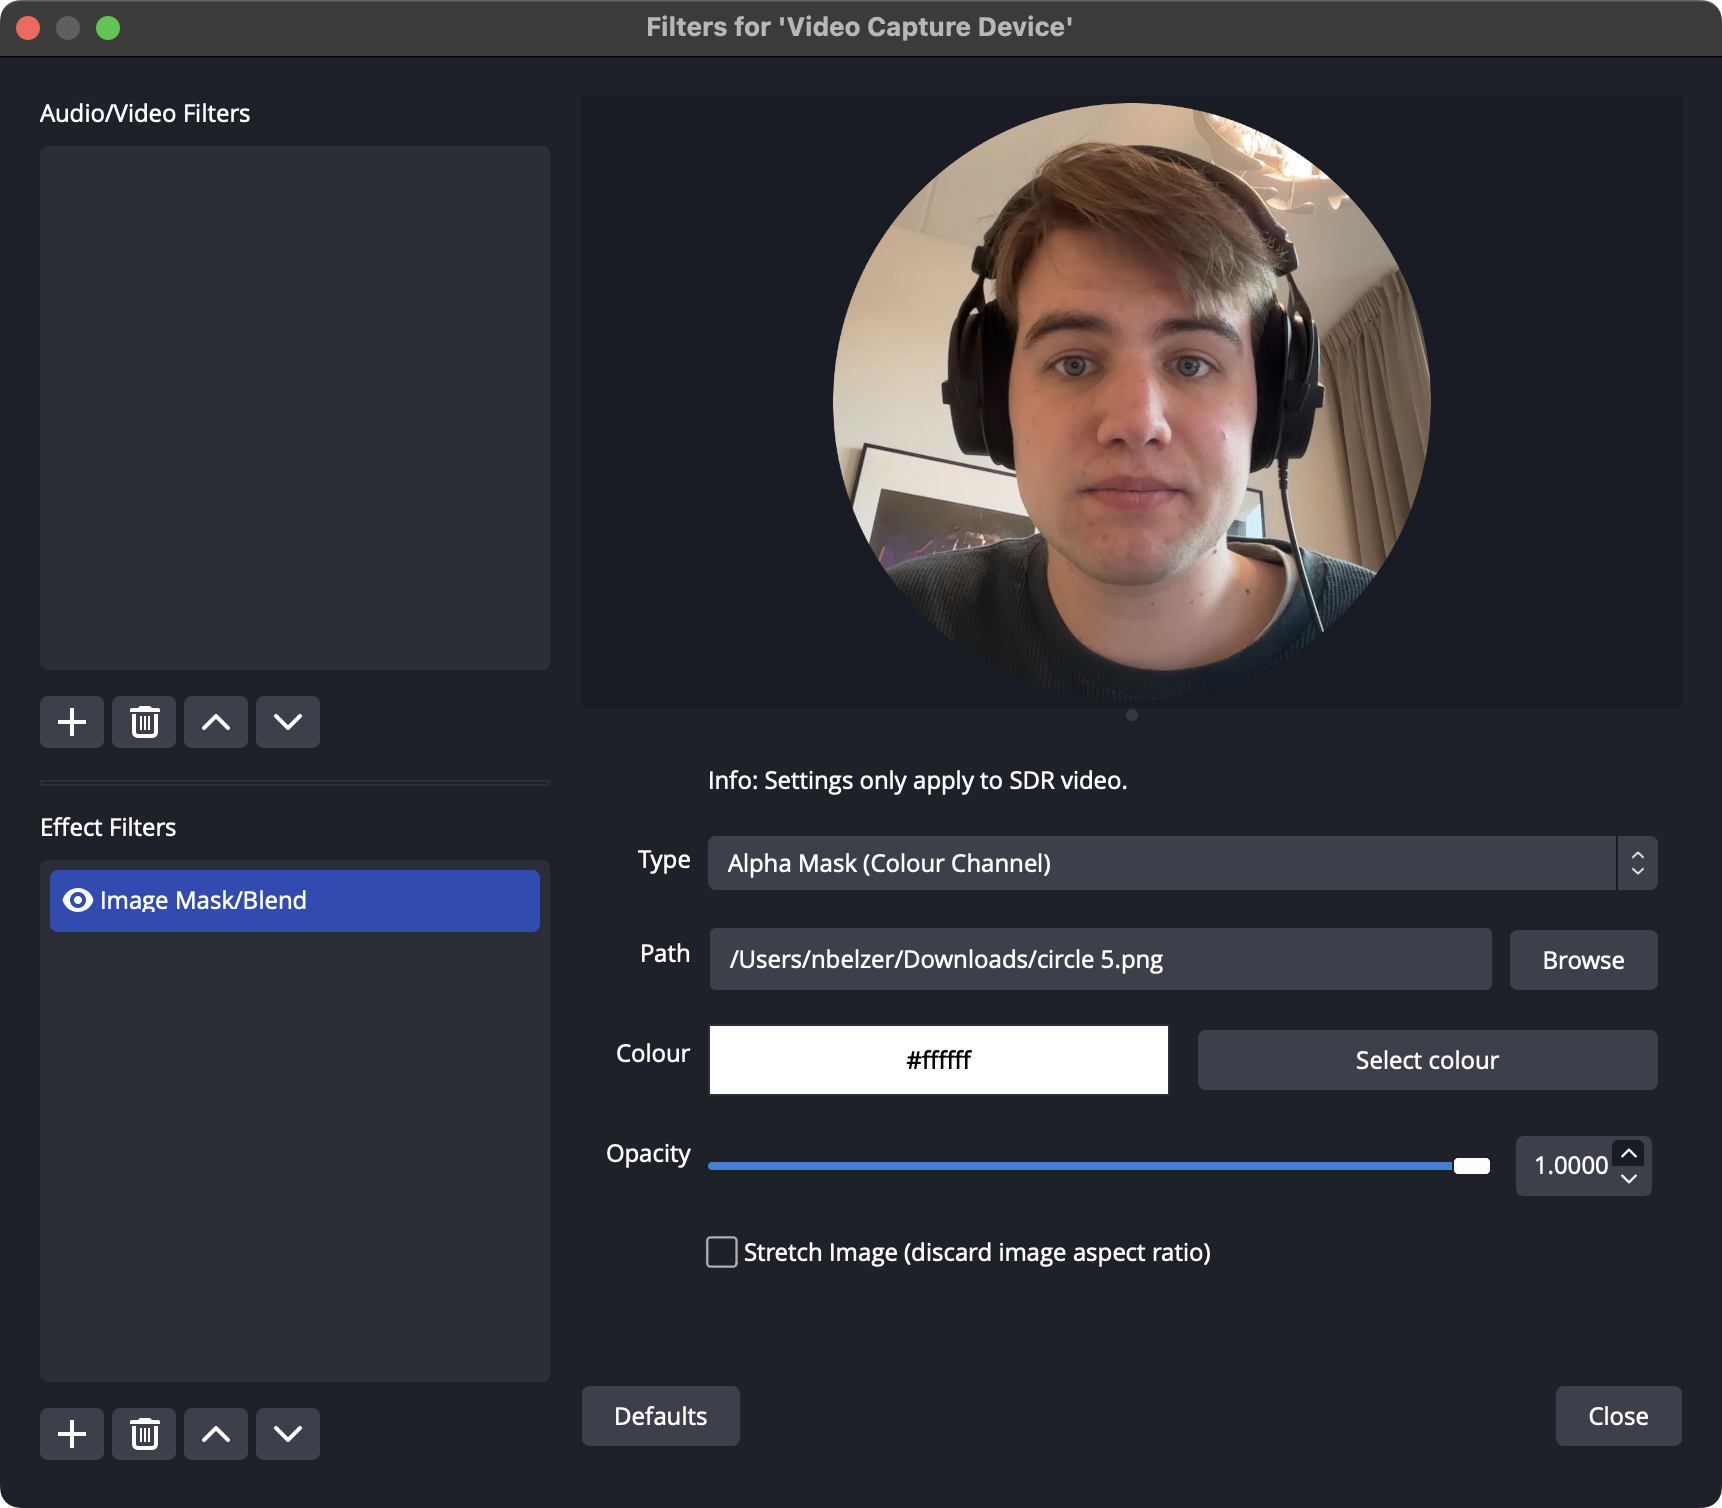
Under effect filters add a new Image Mask/Blend filter.
For the image use one of these masks, depending on the effect you are looking for. Or create your own, I created these in Figma.


Once you’ve done this you can close the window and re-position and scale your webcam to be in your preferred position.
You should not have to change any audio settings, those should be set up correctly from the start. You can, however, enable voice isolation if you are on the latest version of MacOS (as explained Recording Screencasts).
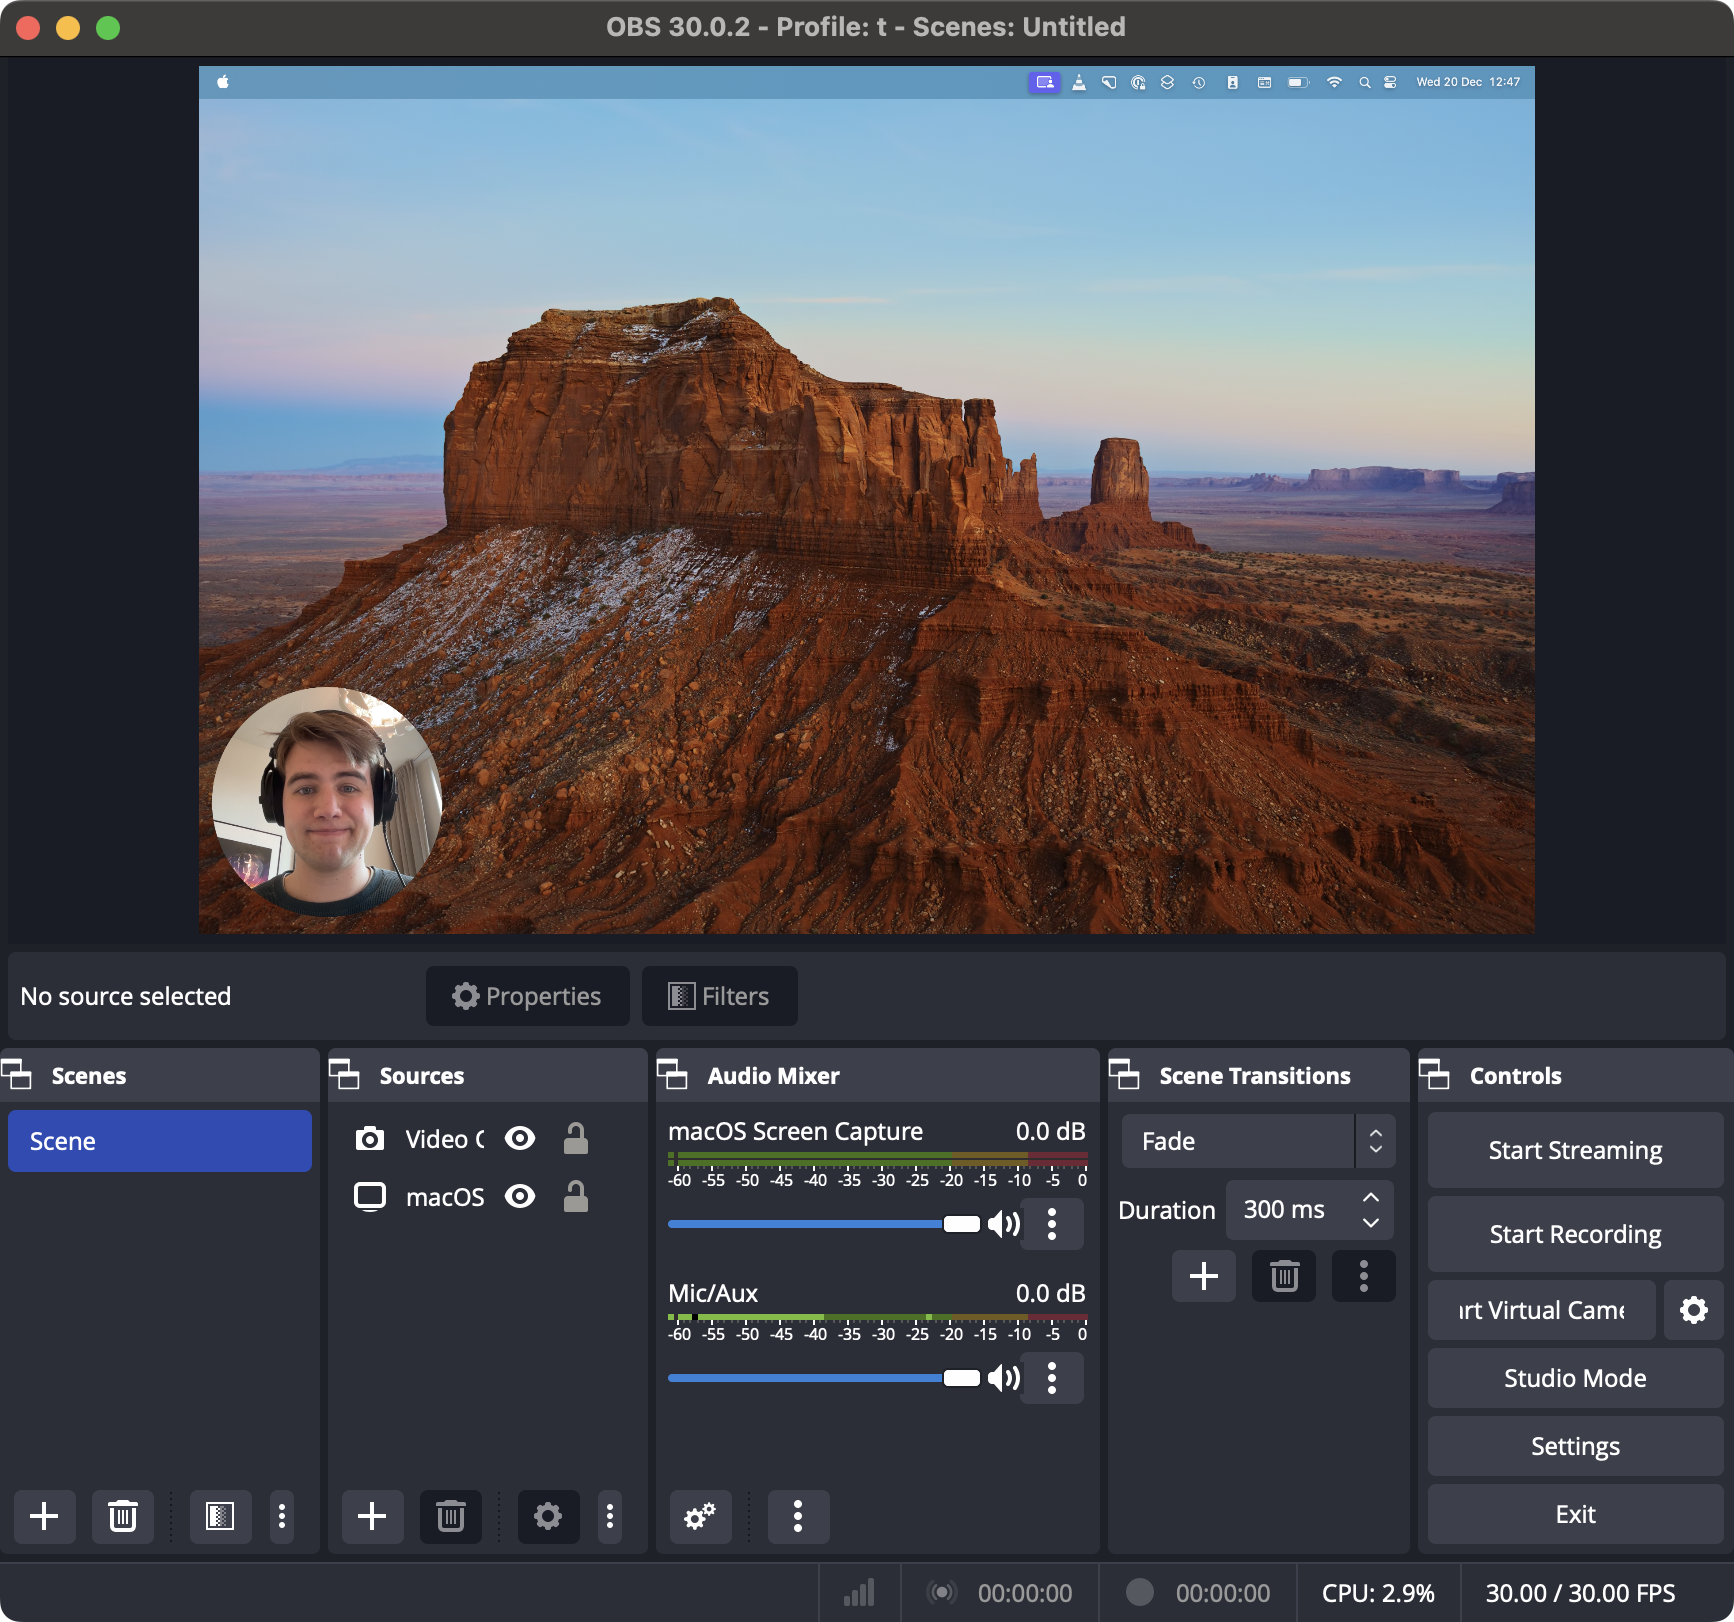
Once you’re done the preview should look a bit like this:
Quality Settings
While I’m no expert at OBS I tried out a bunch of the different settings and settled on these:
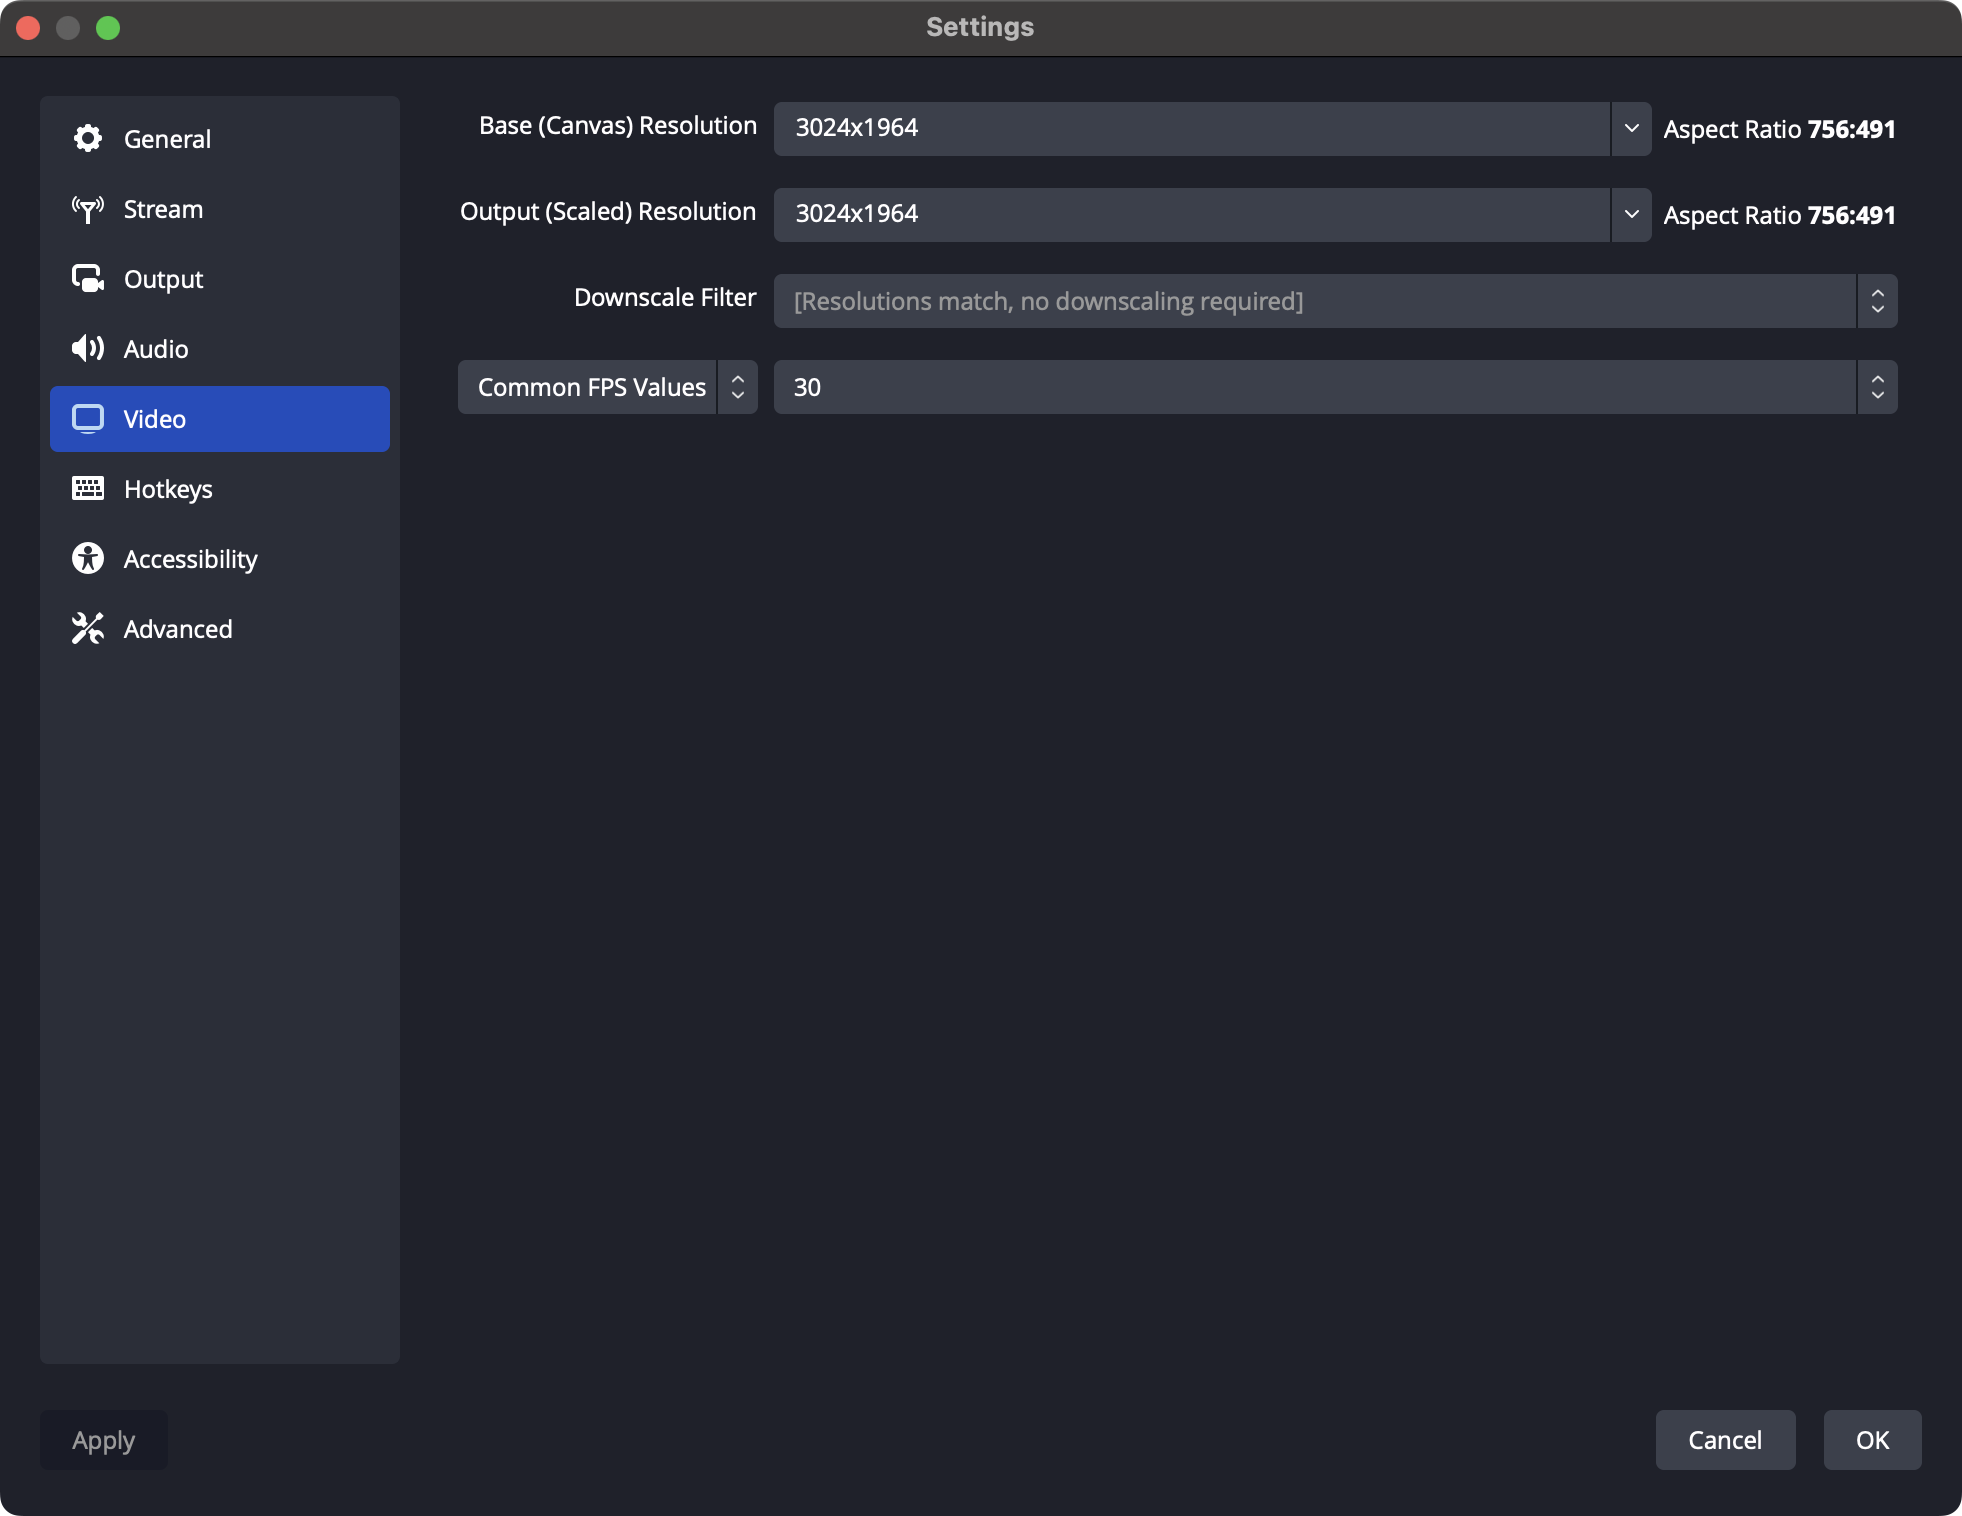
Under Settings > Video make sure your base resolution is the same as your output resolution, you’ll want to make sure you don’t scale the output as it can create artefacts. On my MacBook the screen resolution is 3024x1964, this might be different on your MacBook.
Note that you might have to change these settings when you want to record a different screen.
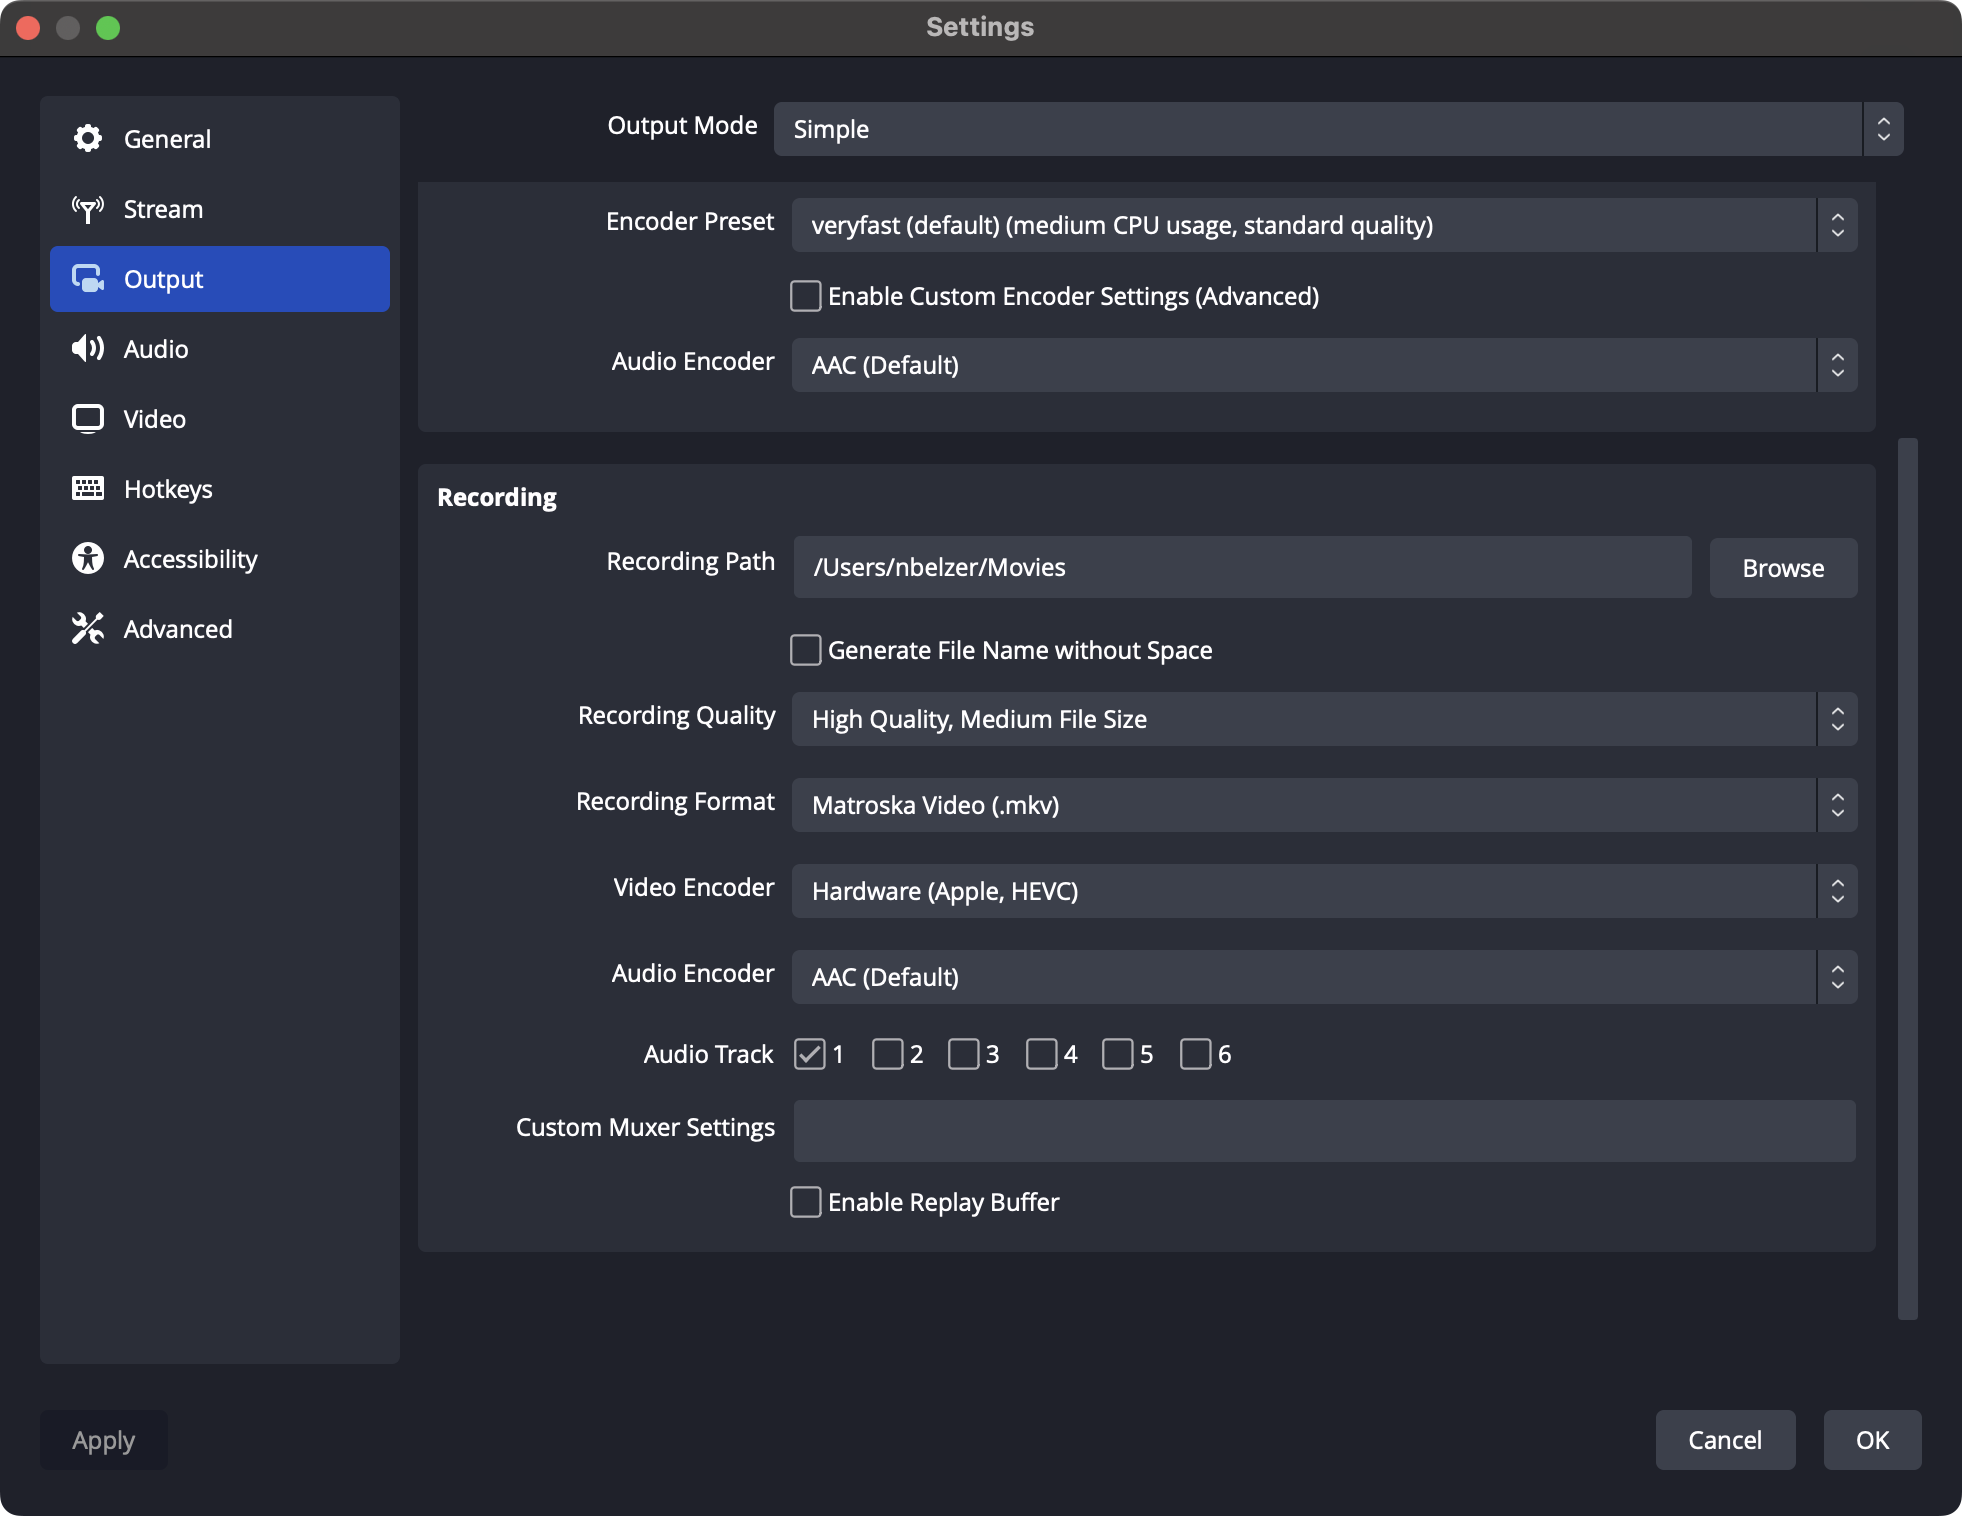
Additionally you’ll want to tweak the recording output settings, for example you might want to change where recordings are saved by updating the Recording Path.
For better quality I recommend updating the Recording Quality to High Quality and to use a video encoder that is based on Hardware (HEVC should be supported on all M1 MacBooks and provides the best quality vs file-size trade-off).
You can also change the recording format here, by default you’ll get an mkv file. You’ll need an application like VLC to be able to view it as Quicktime doesn’t support it. To make it easier to work with the recordings you can change this to mp4. Note that for longer recordings an mkv is recommended as you won’t lose your recording if for any reason OBS crashes.
Finally I recommend you make a quick recording of about 30 seconds and check the result. Good luck with your screencast!