

Recording Screencasts
This page contains some general tips I have used while recording the screencasts for Mastering Shopify Theme Development.
Resolution
Most of us are working from a MacBook Pro, either on its internal display or using the external 4k display offered by Nebulab. To get the sharpest end result we’ll want to use a scaling mode that is half of the resolution of the native display (for 2x scaling). You can change these settings in Settings > Display.
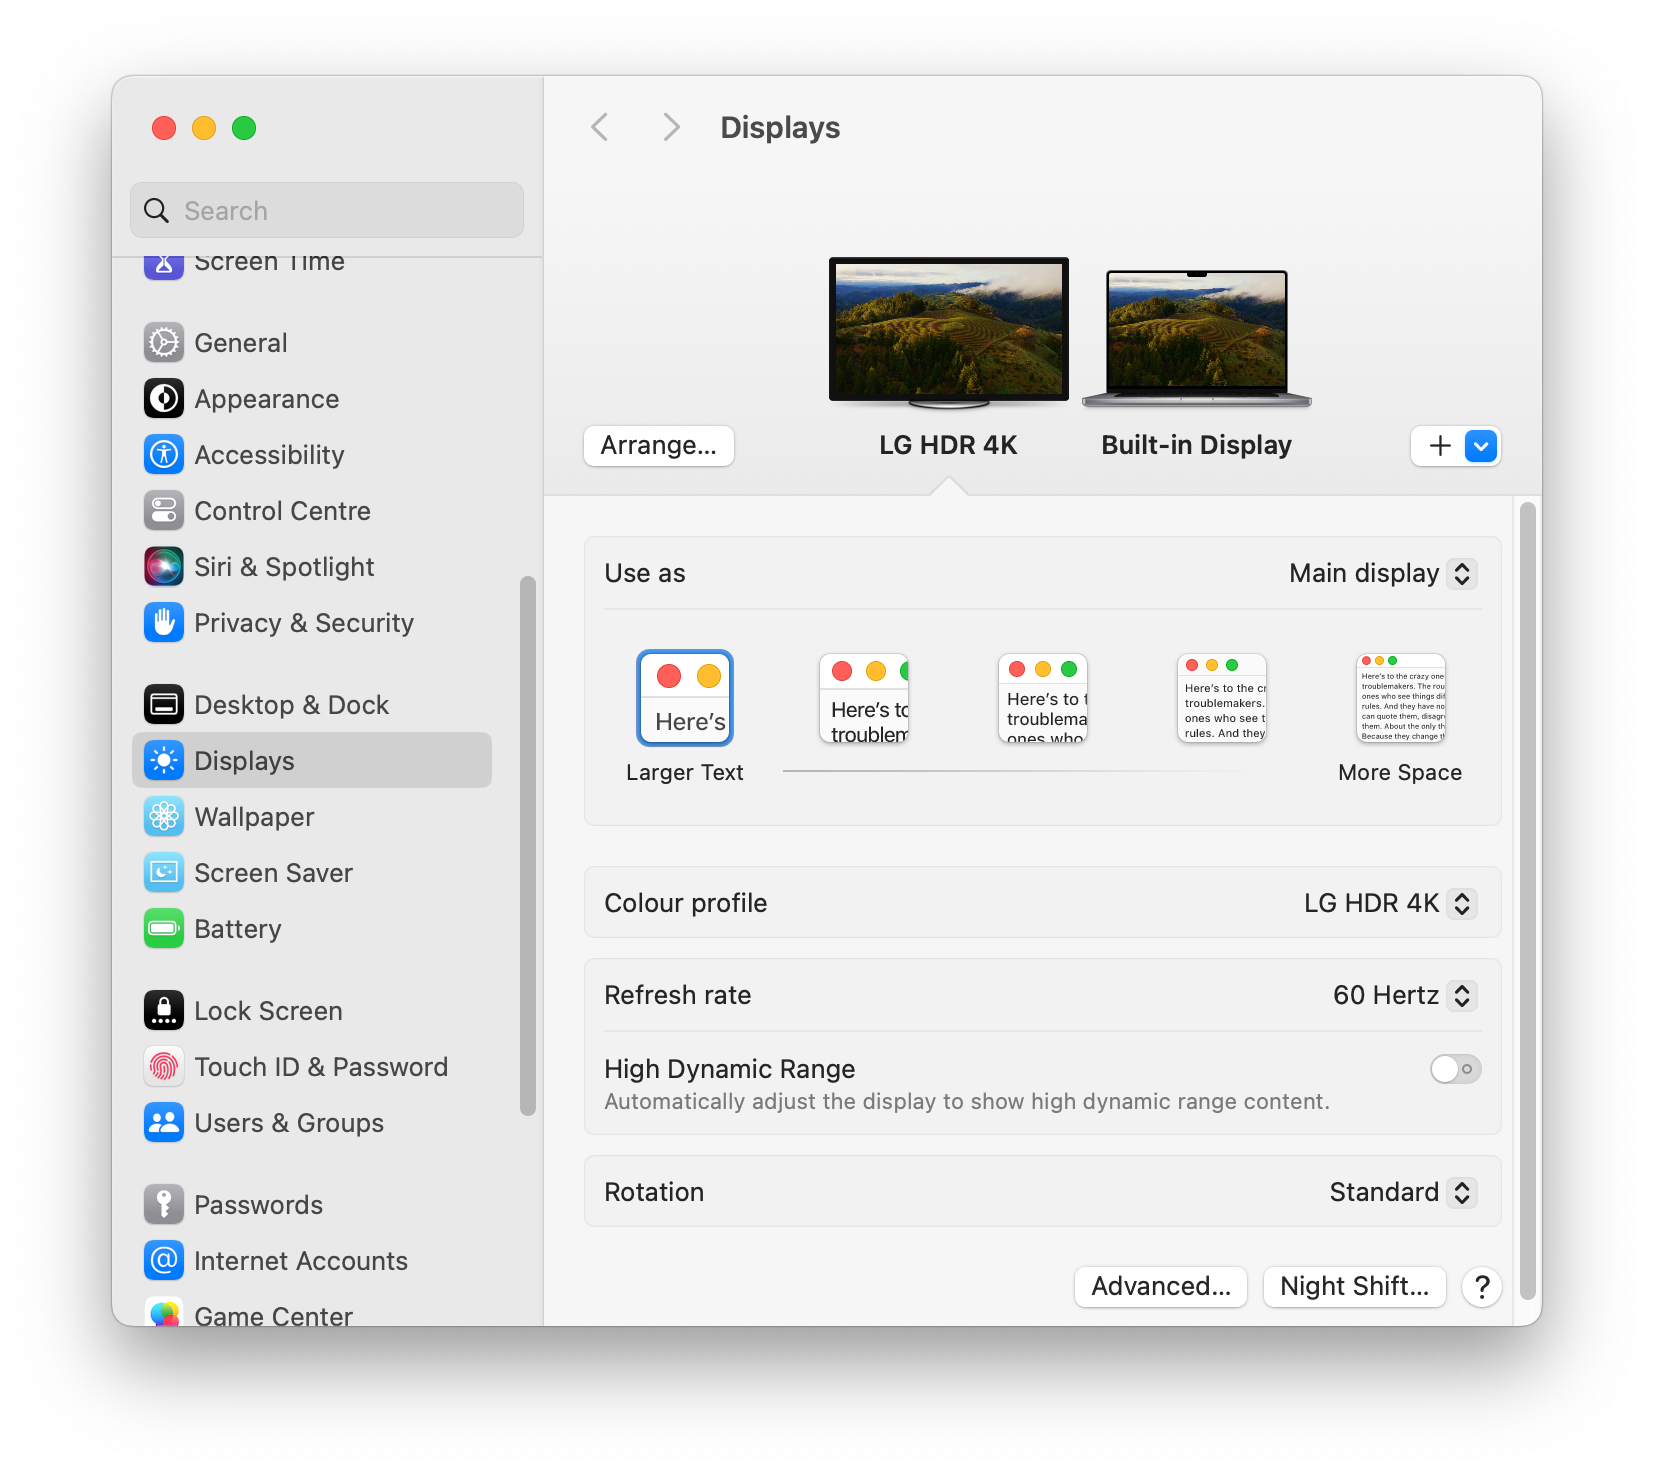
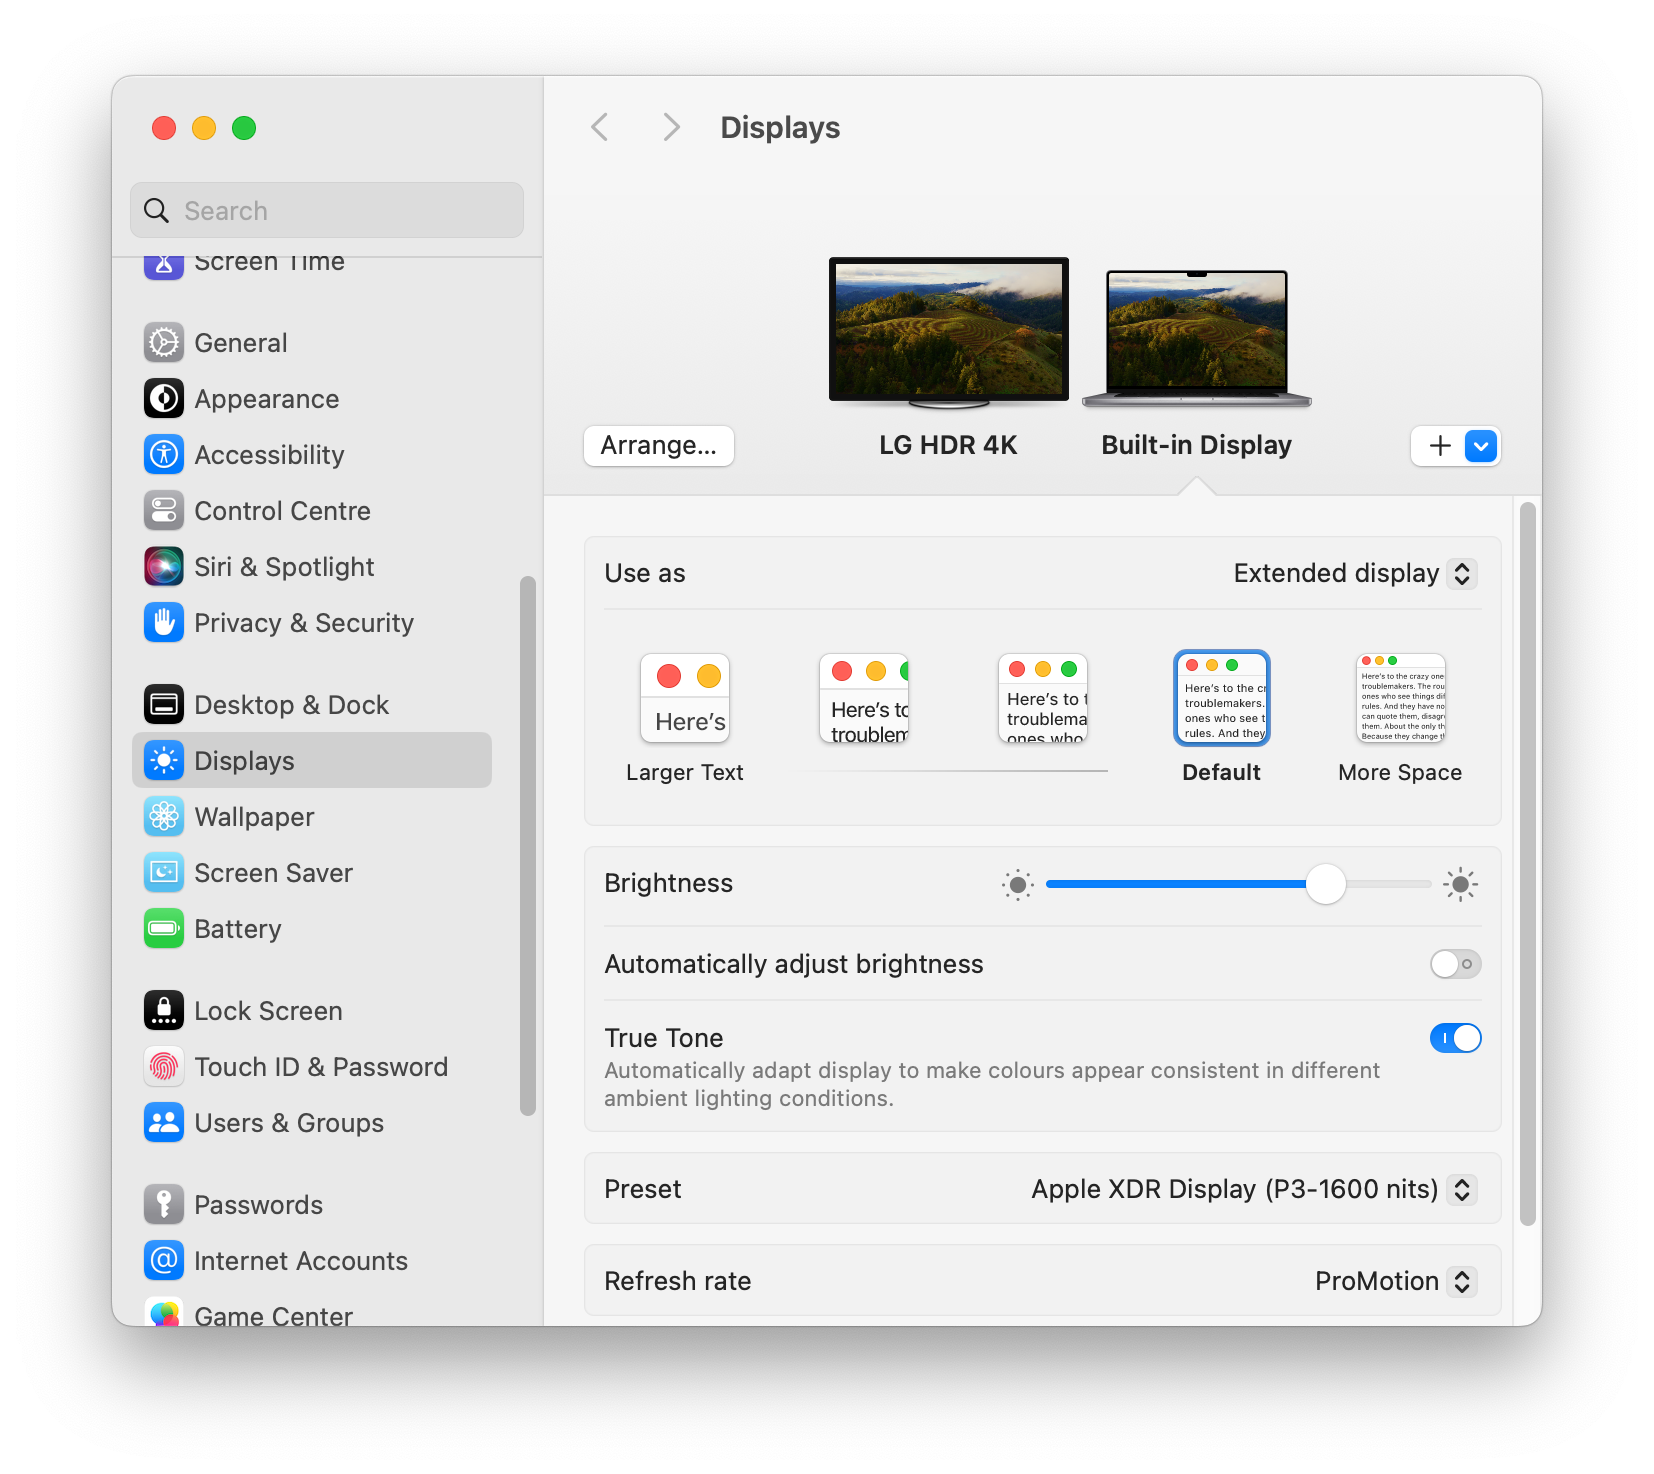
By making all content larger it is less likely that compression will make the text in your video unreadable, it will also make it possible to view the video in a smaller frame, for example using PiP mode, which can allow viewers to keep the video on their screen while taking notes or following along with your instructions.
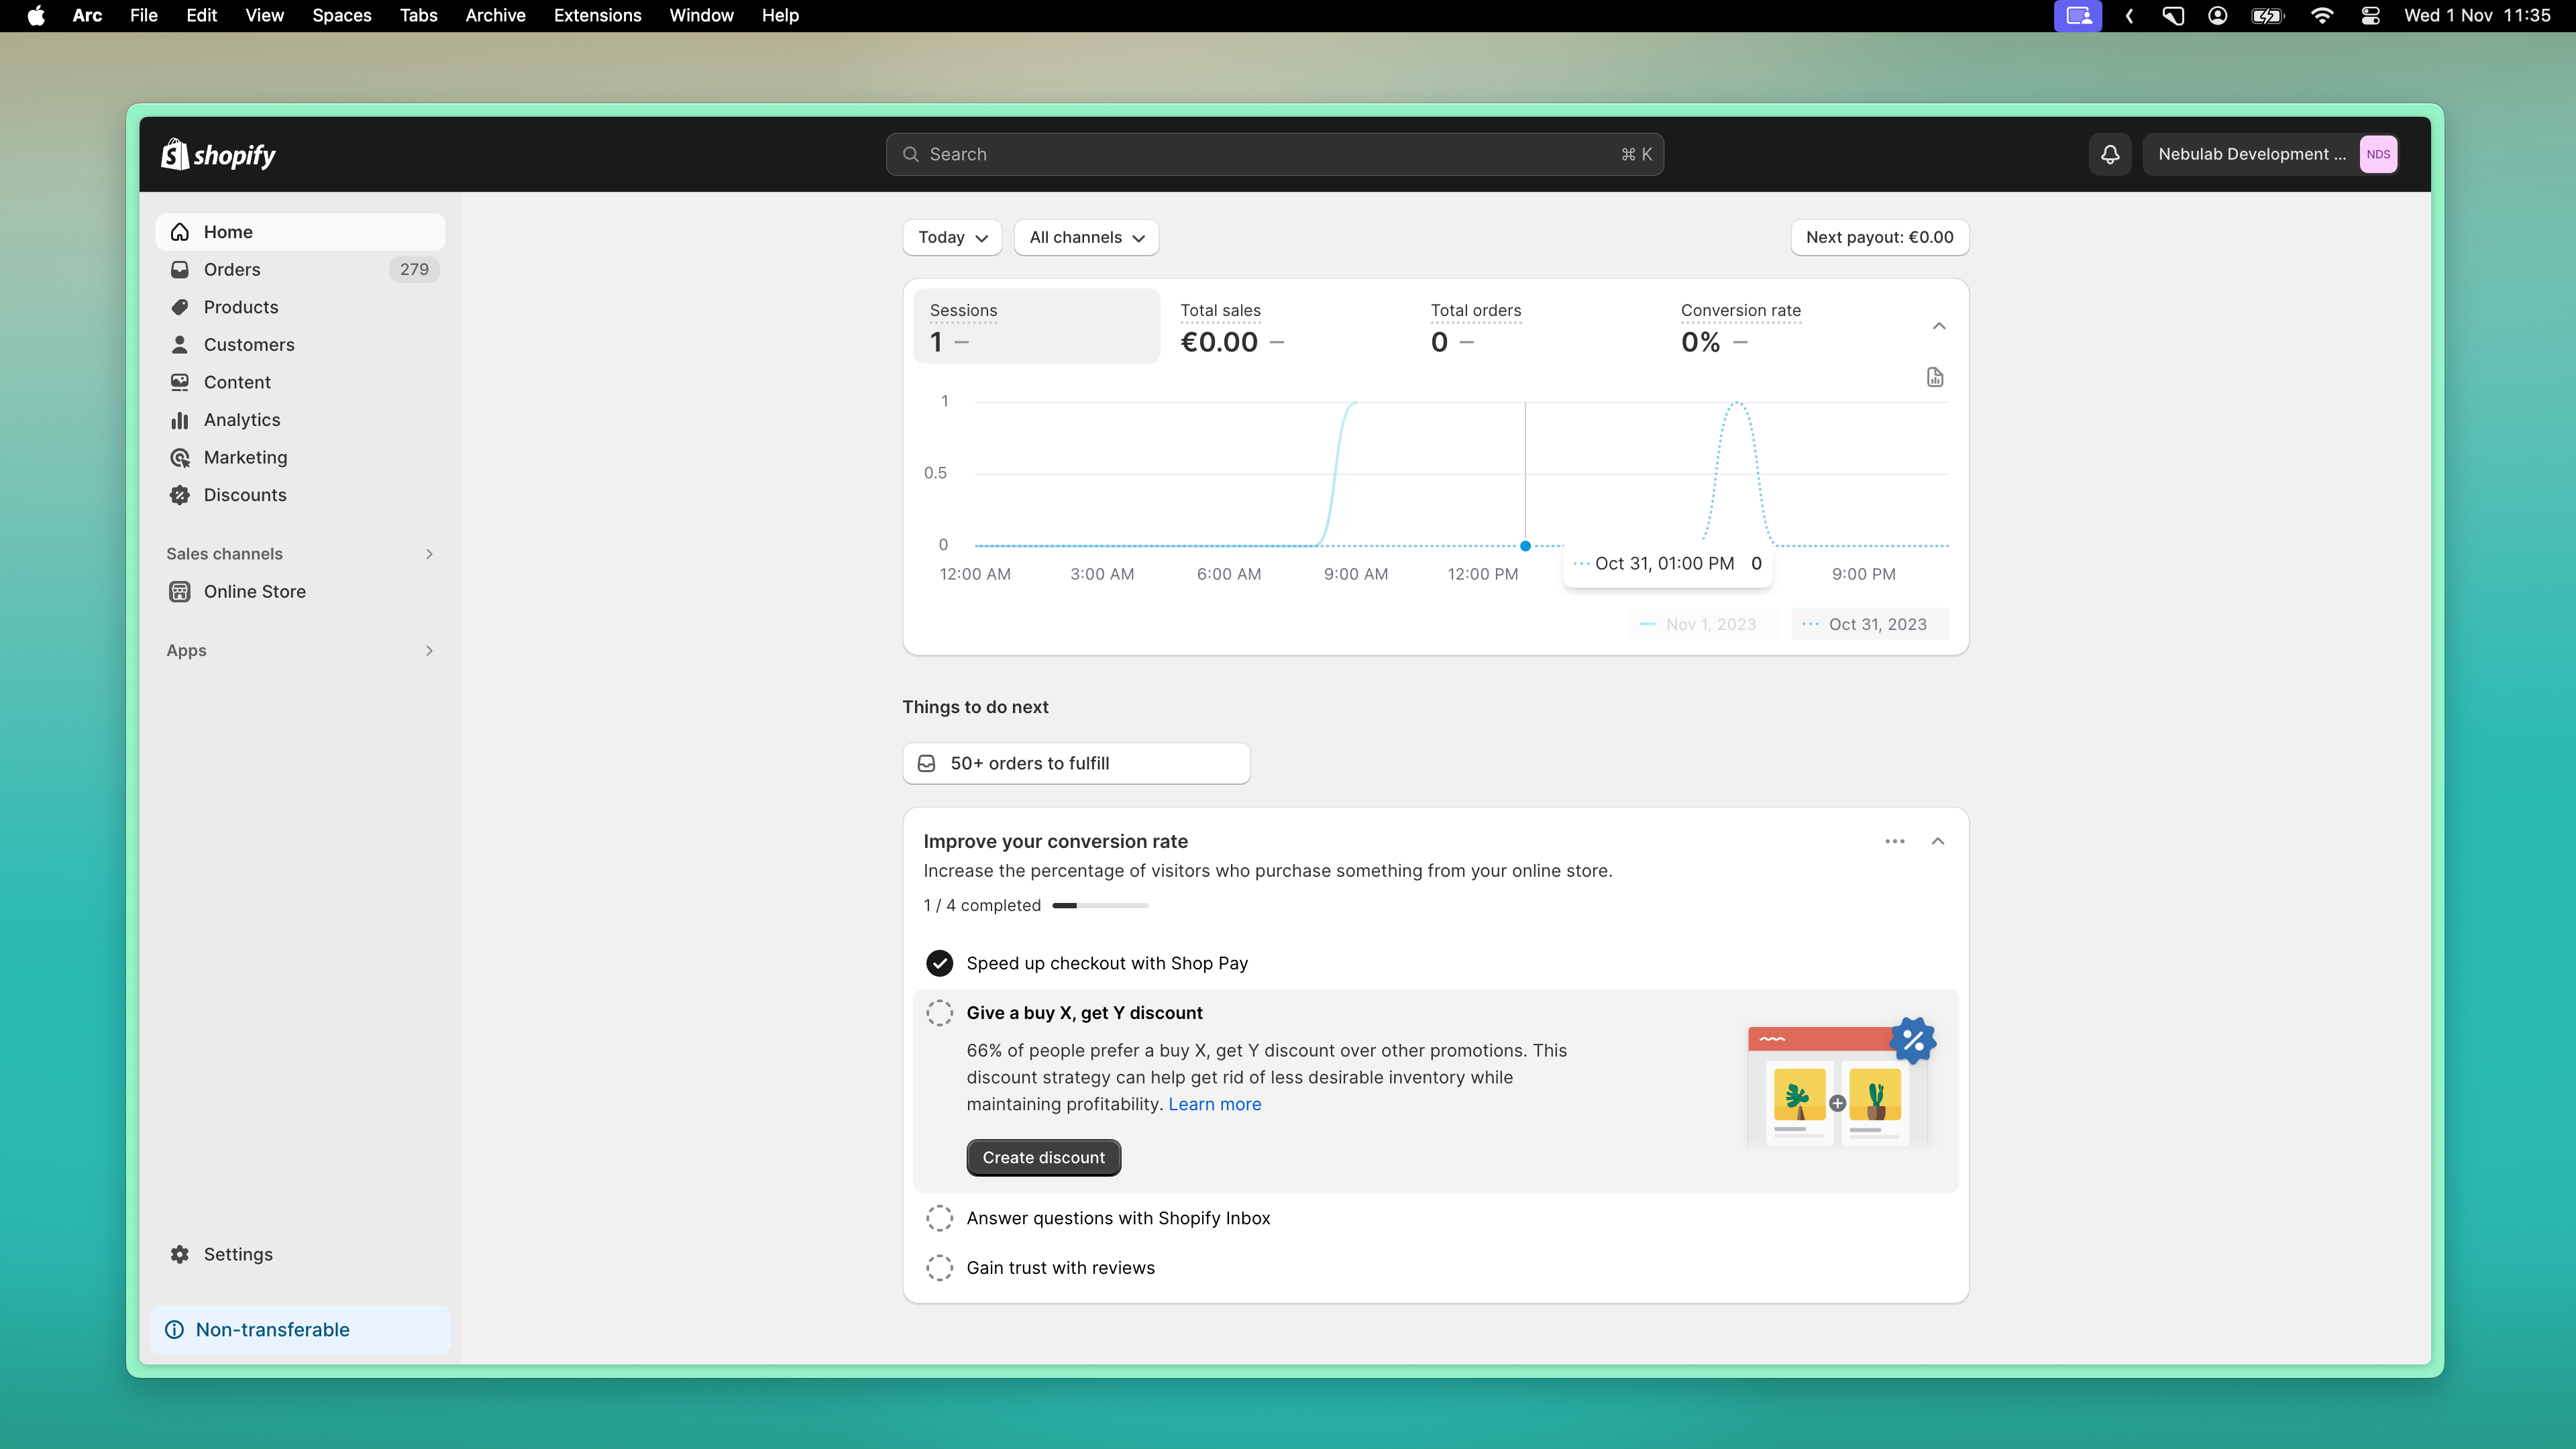
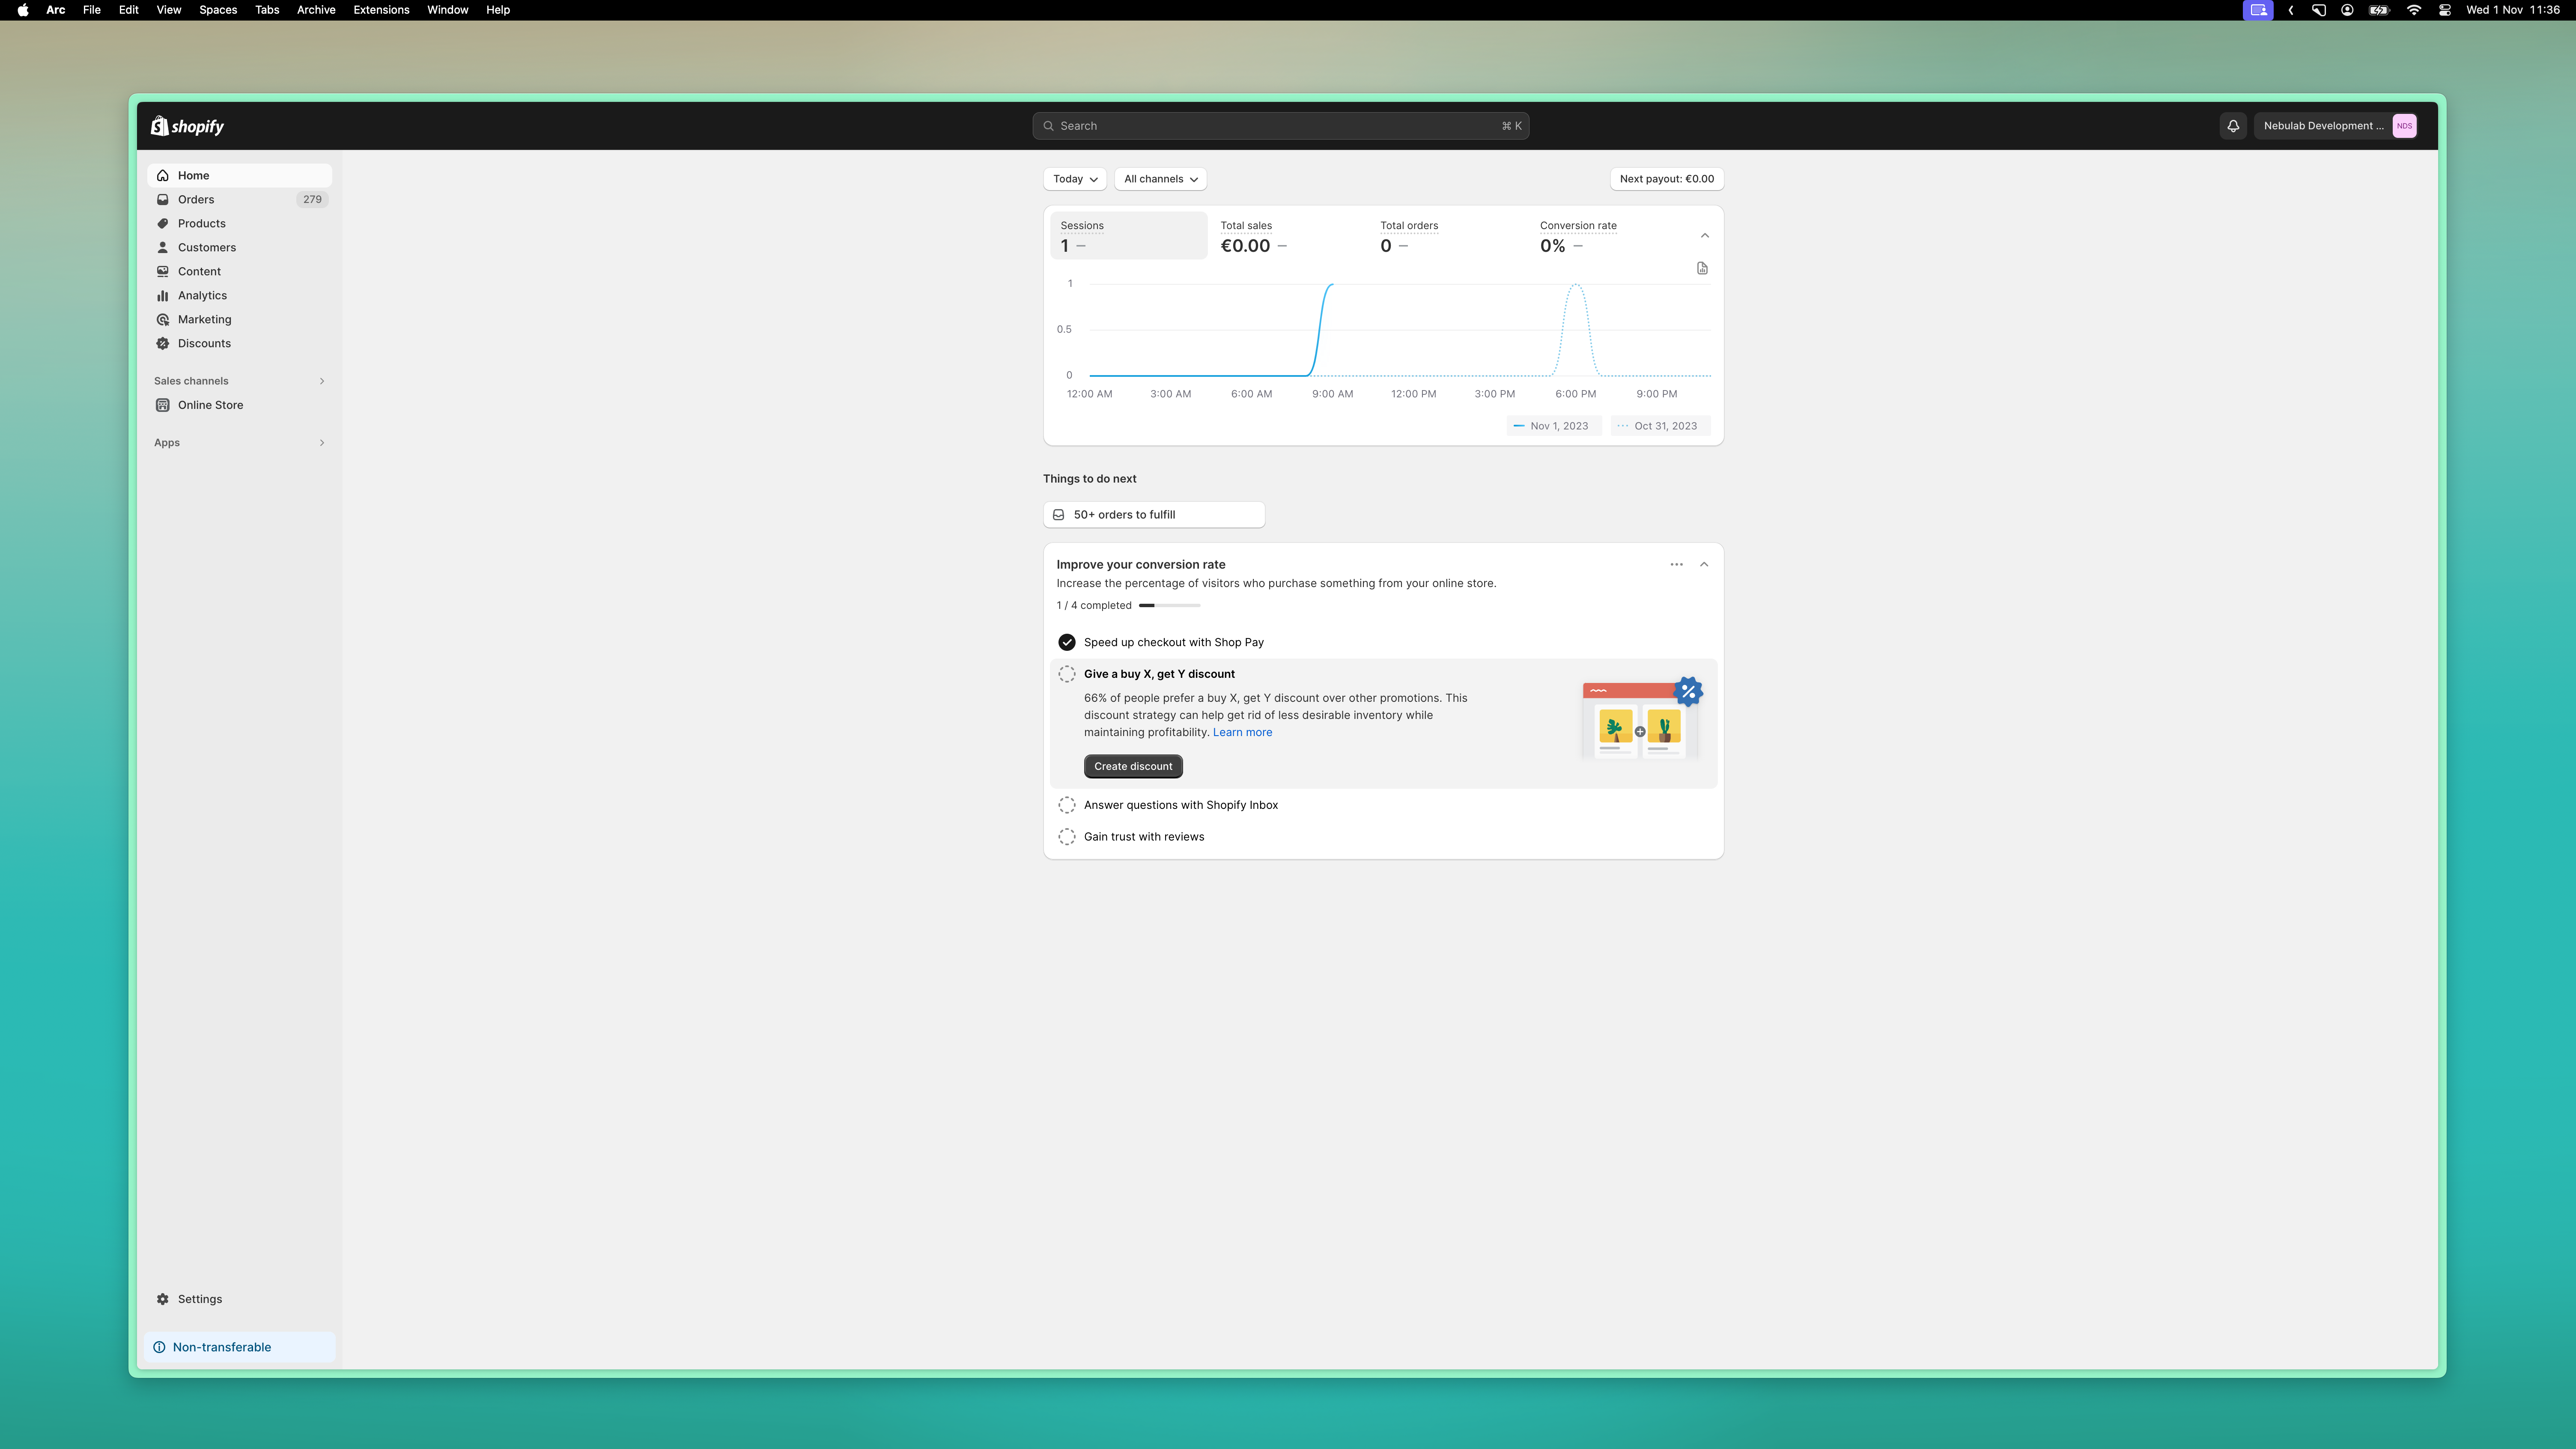
[!NOTE] Here is an example of using the 2x display scaling versus a 1.5x display scaling on a 4k monitor.
Tools
Loom
You can use tools like Loom when you need to make a quick recording, however, the usability will cost you control over the quality of the recording.
Quicktime
On MacOS you can use Quicktime to create a screen recording, you can use Photo Booth to also show yourself using your webcam. The result would be something like this:
CleanShot X
You can also use a paid tool like CleanShotX, which is what I use personally. It automatically overlays your webcam feed on the video if you want.
OBS
OBS is free alternative that is meant for streaming, but can also be used for recording screencasts. It is also a quite a bit more advanced, but that also gives you more freedom to setup the recording however you want.
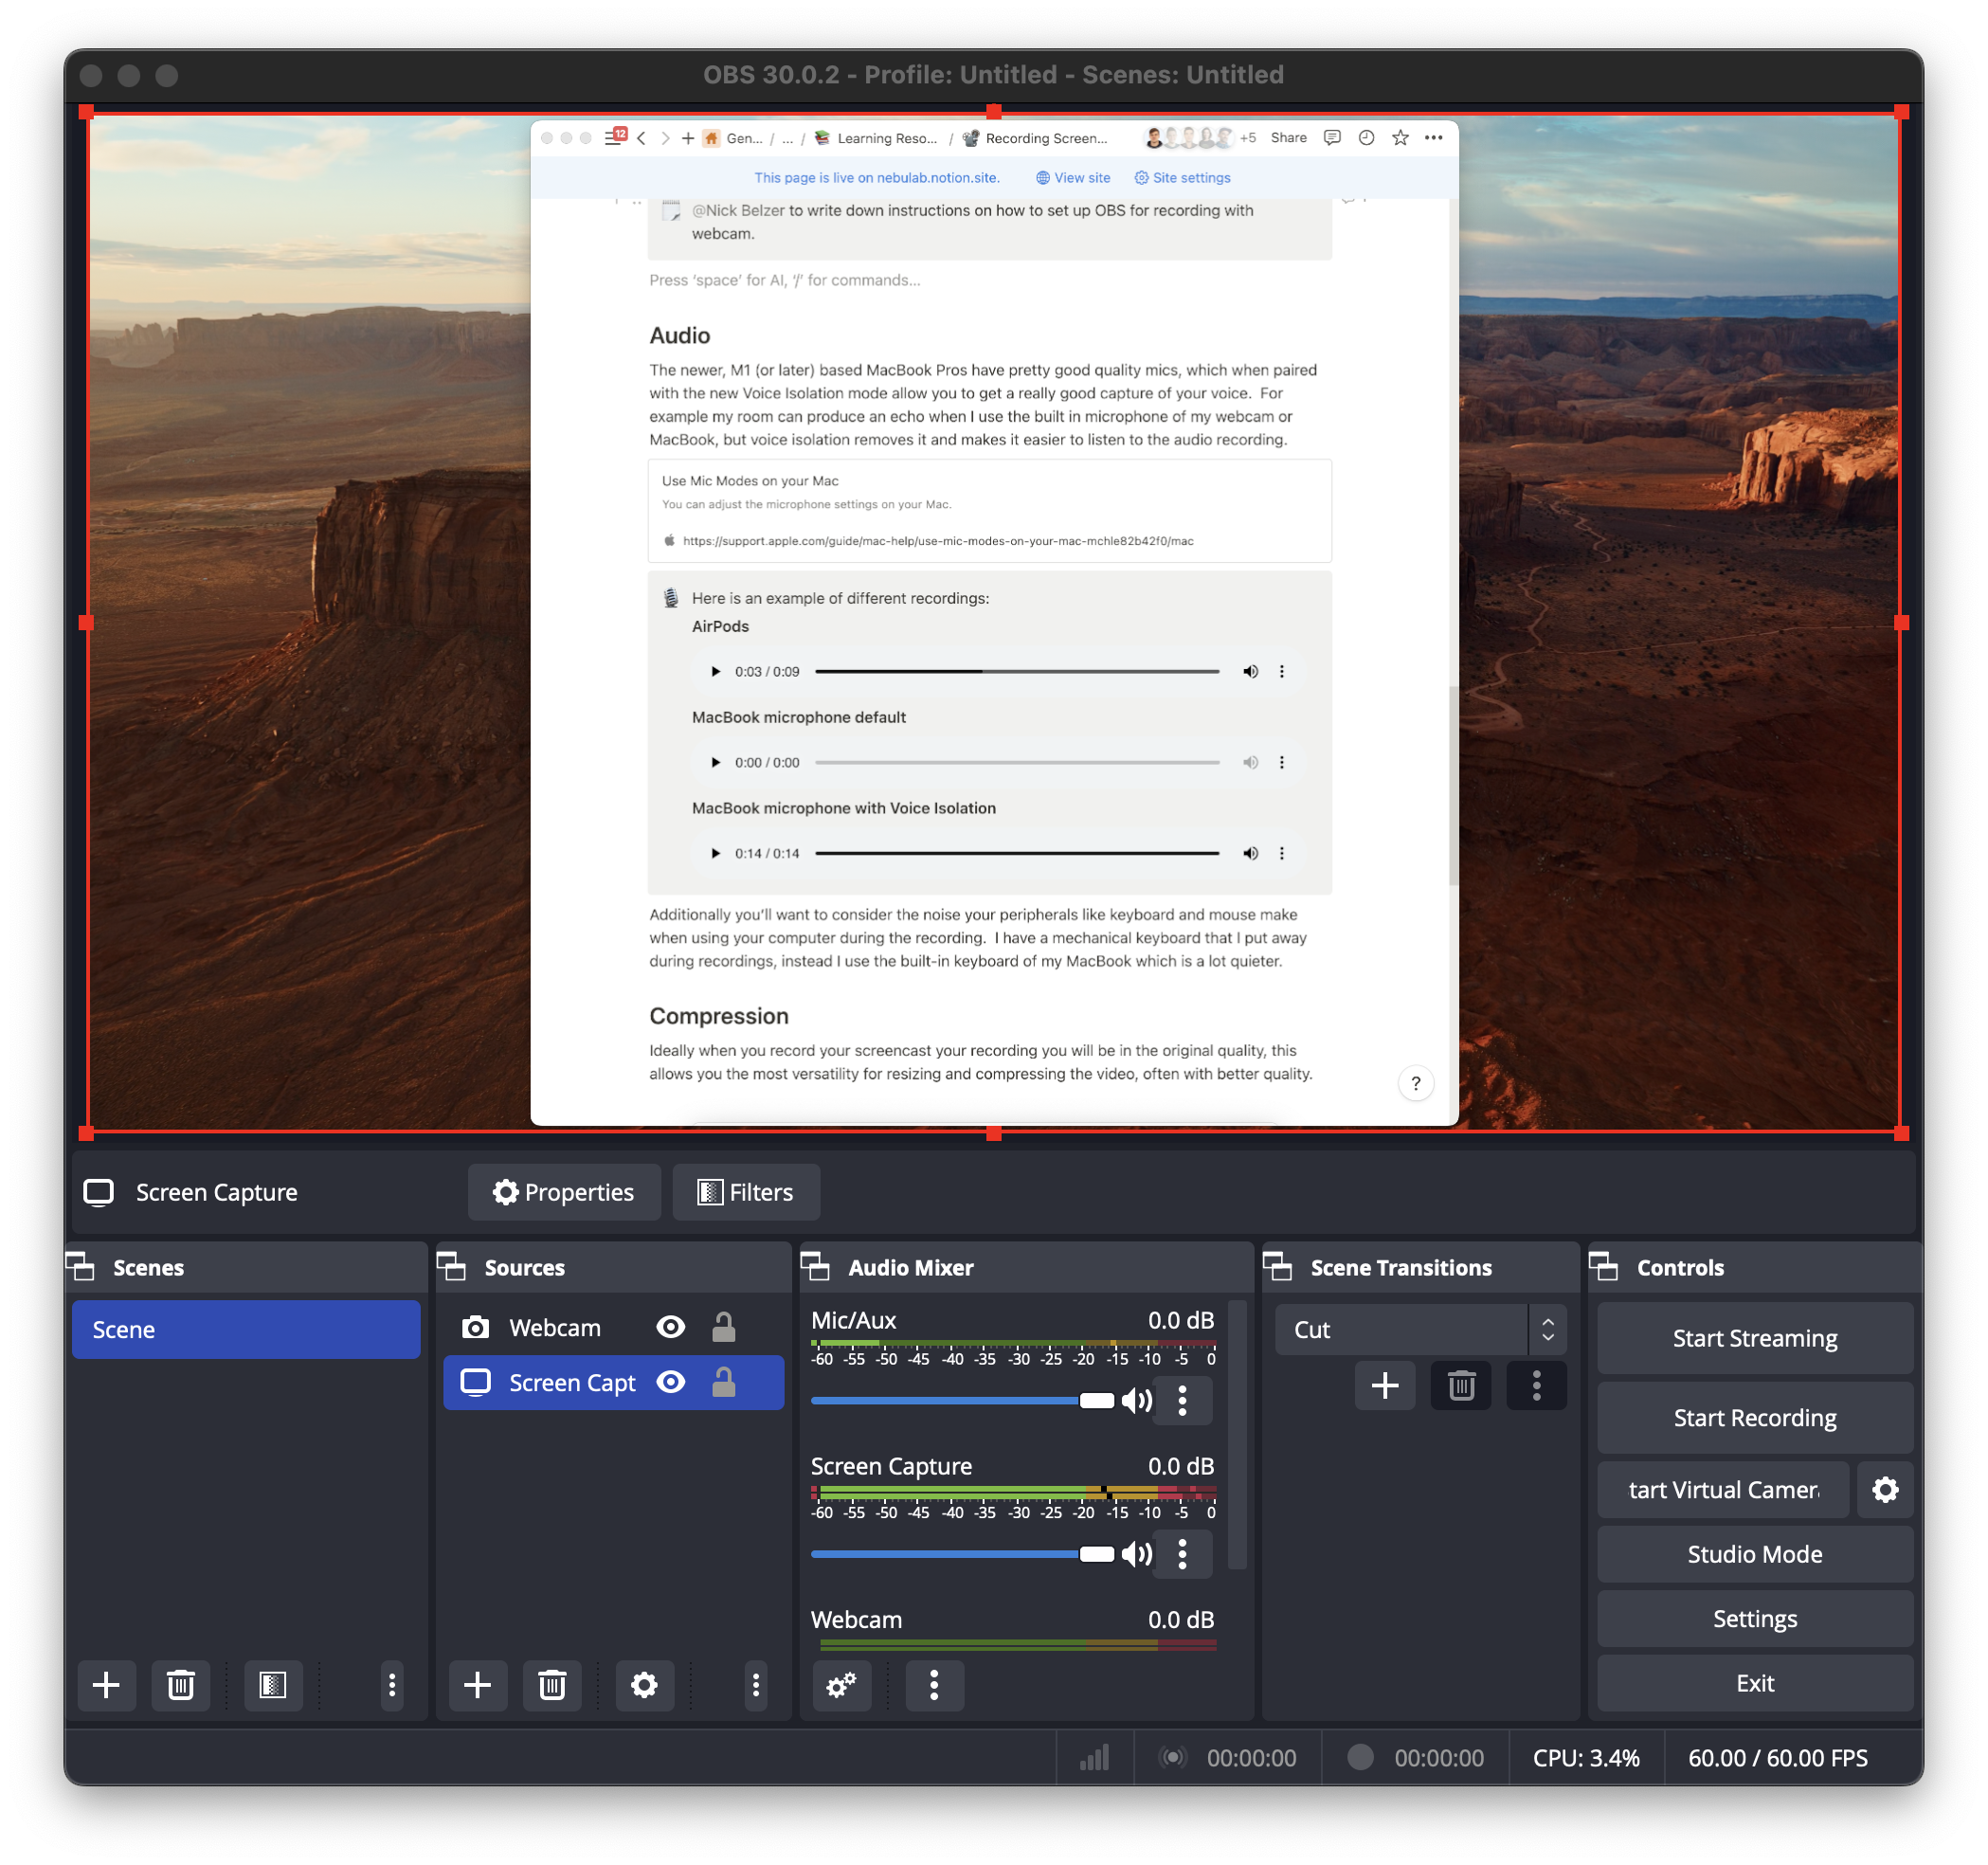
As OBS is quite a bit more advanced and meant for all kinds of purposes, it takes a few steps to set it up for screen recordings, I’ve outlined all those steps with screenshots in the page below:
Audio
The newer, M1 (or later) based MacBook Pros have pretty good quality mics, which when paired with the new Voice Isolation mode allow you to get a really good capture of your voice. For example my room can produce an echo when I use the built in microphone of my webcam or MacBook, but voice isolation removes it and makes it easier to listen to the audio recording.
https://support.apple.com/guide/mac-help/use-mic-modes-on-your-mac-mchle82b42f0/mac
[!NOTE] Here is an example of different recordings:
AirPods
MacBook microphone default
MacBook microphone with Voice Isolation
audio-macbook-voice-isolation.m4a
Additionally you’ll want to consider the noise your peripherals like keyboard and mouse make when using your computer during the recording. I have a mechanical keyboard that I put away during recordings, instead I use the built-in keyboard of my MacBook which is a lot quieter.
Compression
Ideally when you record your screencast your recording you will be in the original quality, this allows you the most versatility for resizing and compressing the video, often with better quality.
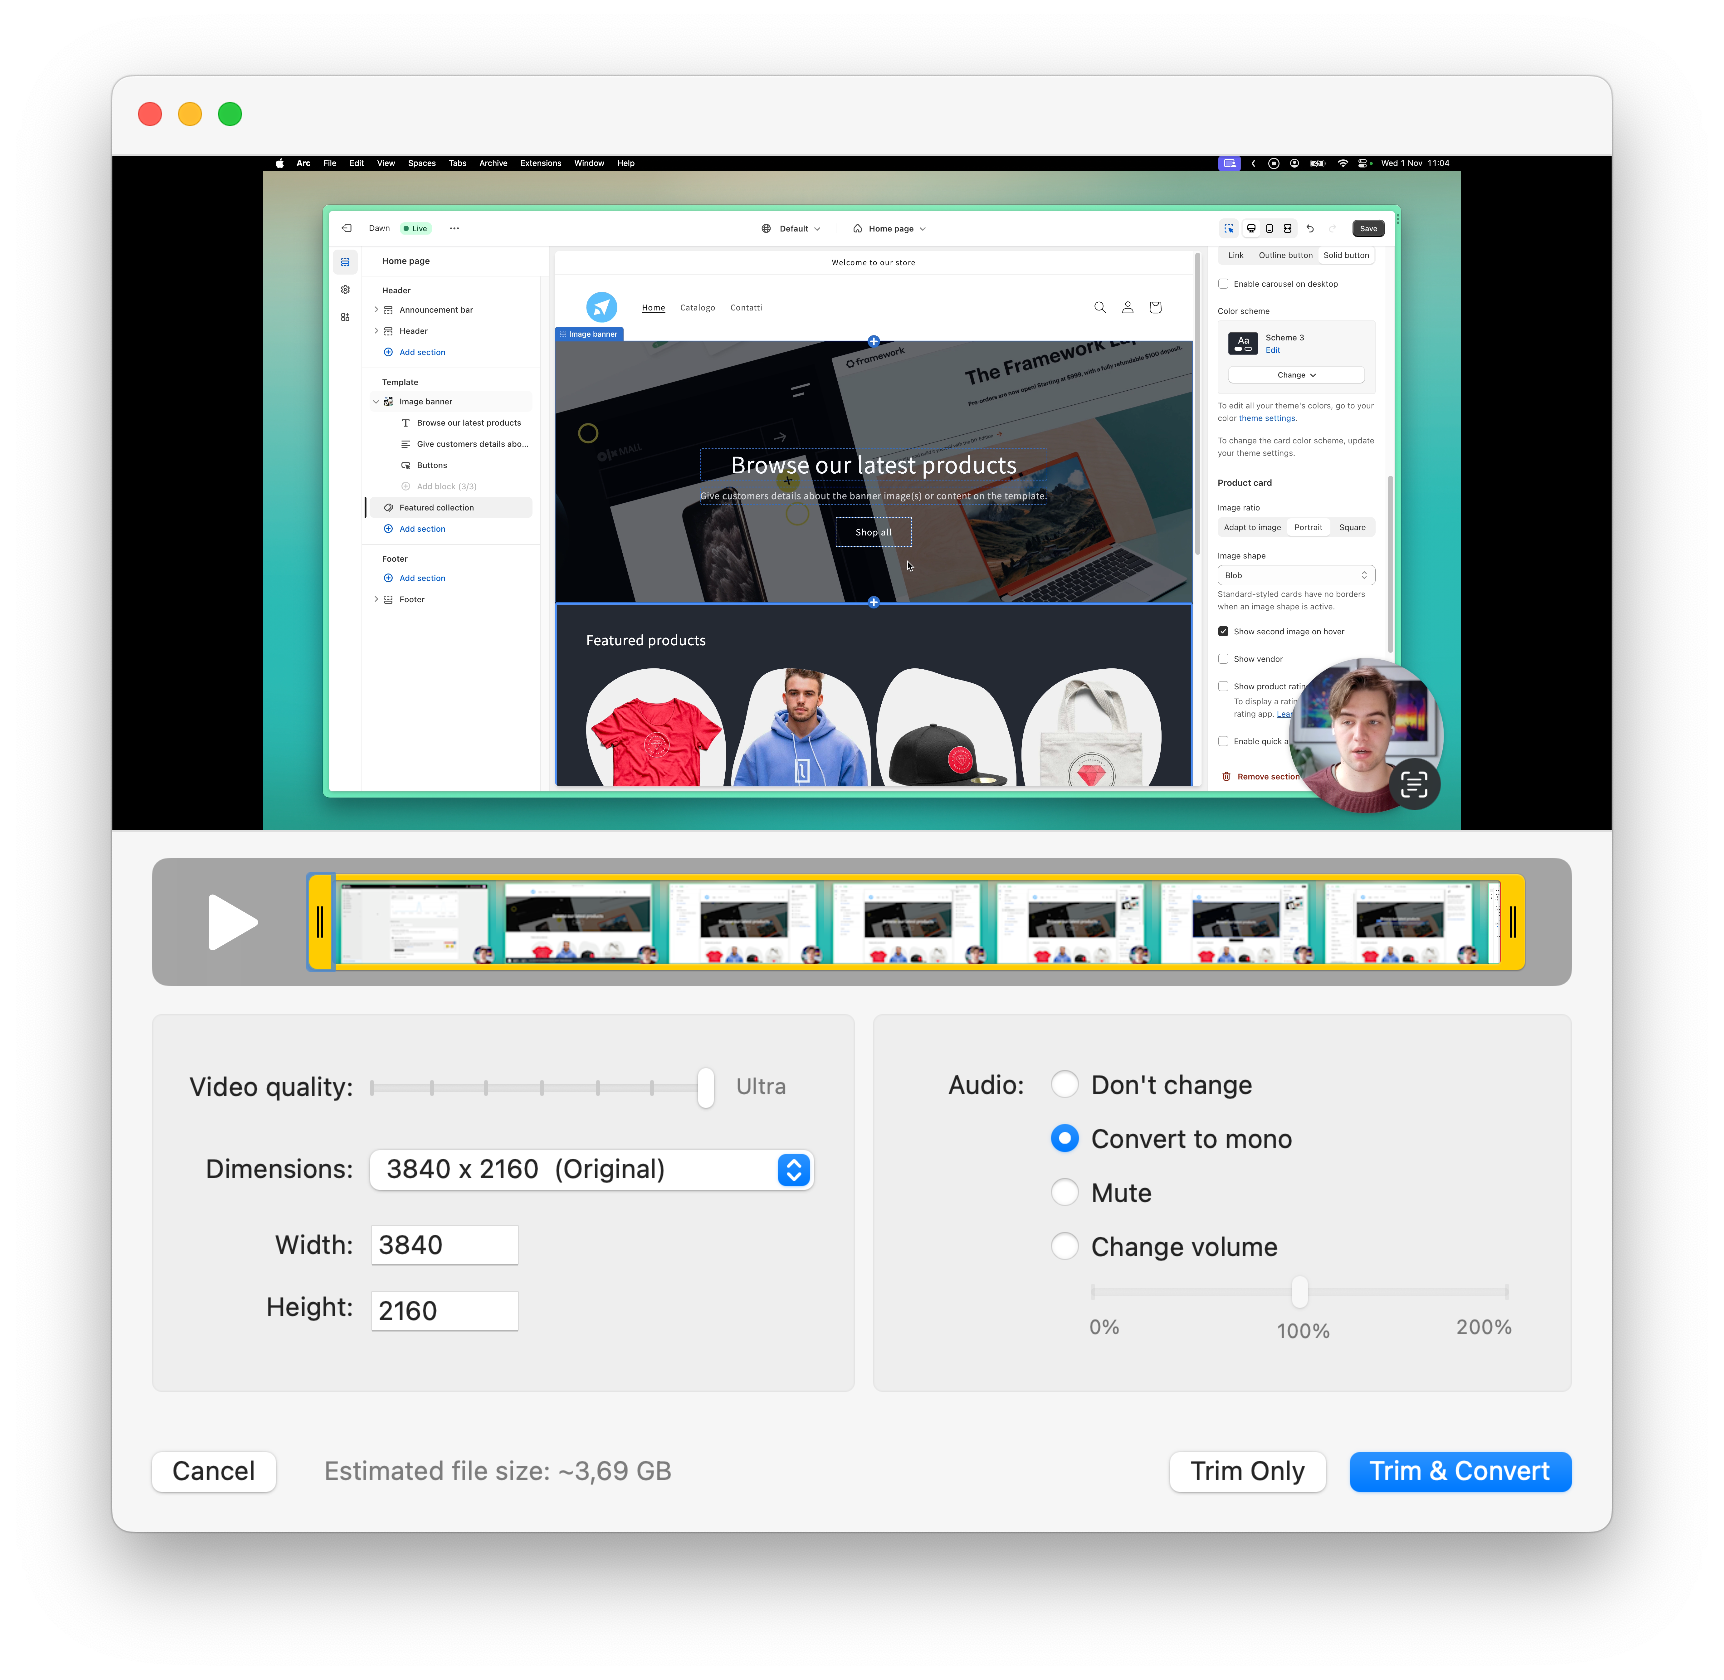
The main file here is about 4 GB for a screen recording of 10 minutes, using ffmpeg we can both resize the video to 1920x1080 and use the latest compression standards to reduce the size of this video to 36 MB. While this comes at the cost of quality, the end result you can see in Module 1: Introduction to Shopify does not show obvious compression artefacts and text is still clearly readable.
The smaller file size allows the video to be shared easily (like on Notion for the Shopify course) and reduces the amount of time to load.
You can tweak these based on your needs but to compress and resize a 4k recording to 1080p with good quality I’ve used the following flags on ffmpeg:
ffmpeg -i shopify-online-store.mp4 \ # the input file -vcodec libx265 \ # the codec to use -vf "scale=trunc(iw/4)*2:trunc(ih/4)*2" # to scale the video to half its original size -crf 24 \ # defines quality, lower is better developed/shopify-online-store.mp4 # output file.